








FootfallCam Pro1 Network Configuration via FFC Scanning Tool
Tools Required
Software
-
Locate the network settings config panel in the FFC Scanning Tool
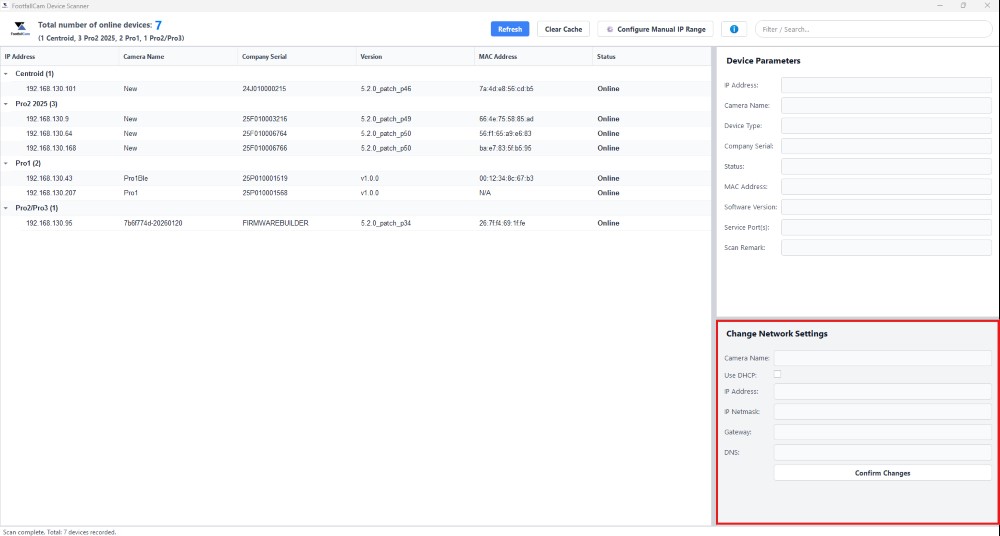
-
Select a device on the left panel by clicking on it, which will display an authentication popup. Enter the username and password for the device (refer to FootfallCam personnel for username and password), and press OK.
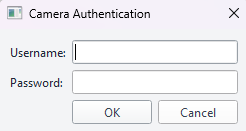
- The credentials will be cached for the device only if a valid MAC address is present. This will be reset when the software is closed. -
If successful, the current network settings for the selected device will appear. You may change the current settings to your desired settings here.
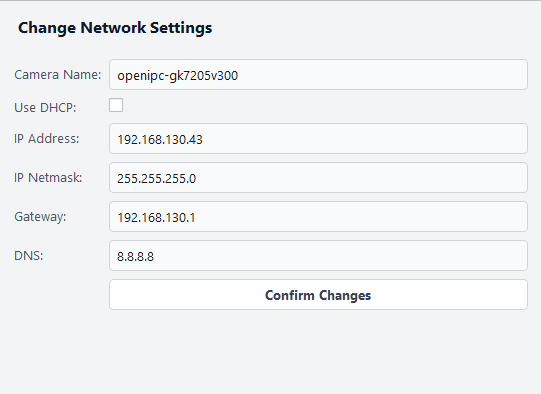
- If DHCP is enabled, all the settings below that option will be disabled. -
Confirm your changes. The device will automatically reboot and the changes will be applied. Once you have confirmed the changes, a notification should appear if it is successful.
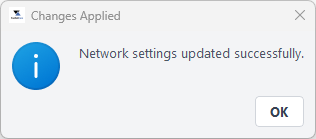
- If the attempt failed, a warning message will appear telling why it failed.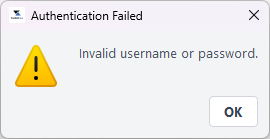
-
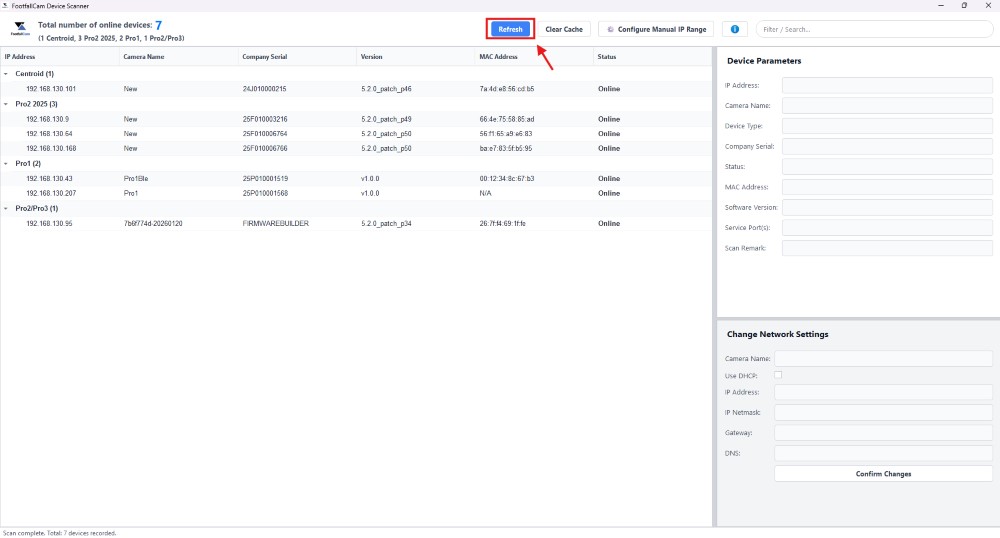
To view the new device information, refresh the software and it will appear.
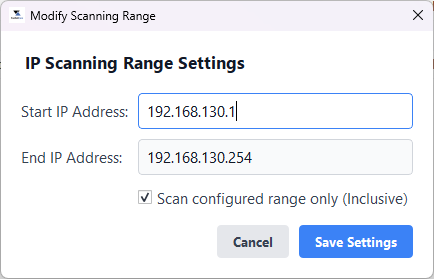
- If you would like to manually configure the IP ranges that the software can scan, click on the Configure Manual IP Range button on the top bar.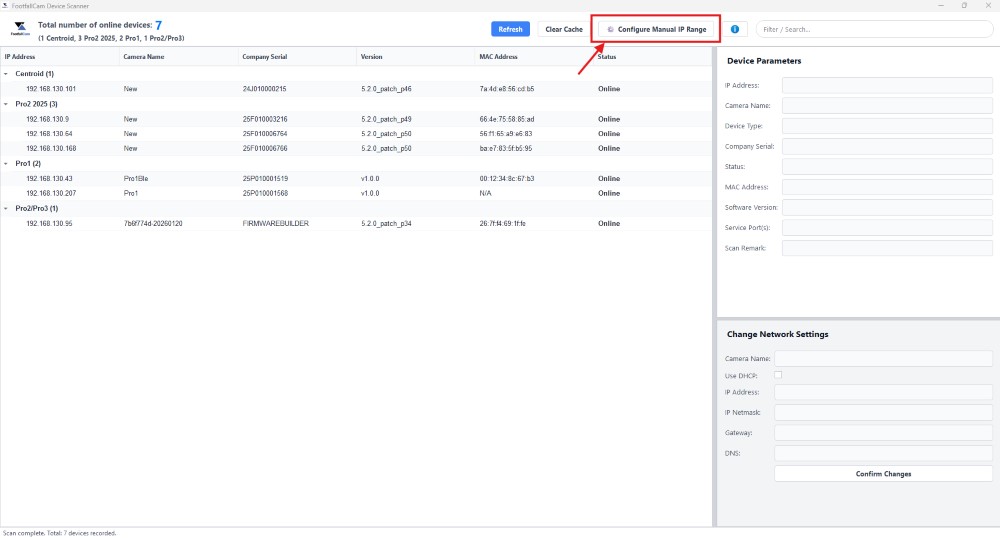
- This will show you a panel where you can manually enter the start and the end of the range of IPs that you want to scan. The Scan configure range only option can be disabled to allow for scanning of all devices once again.