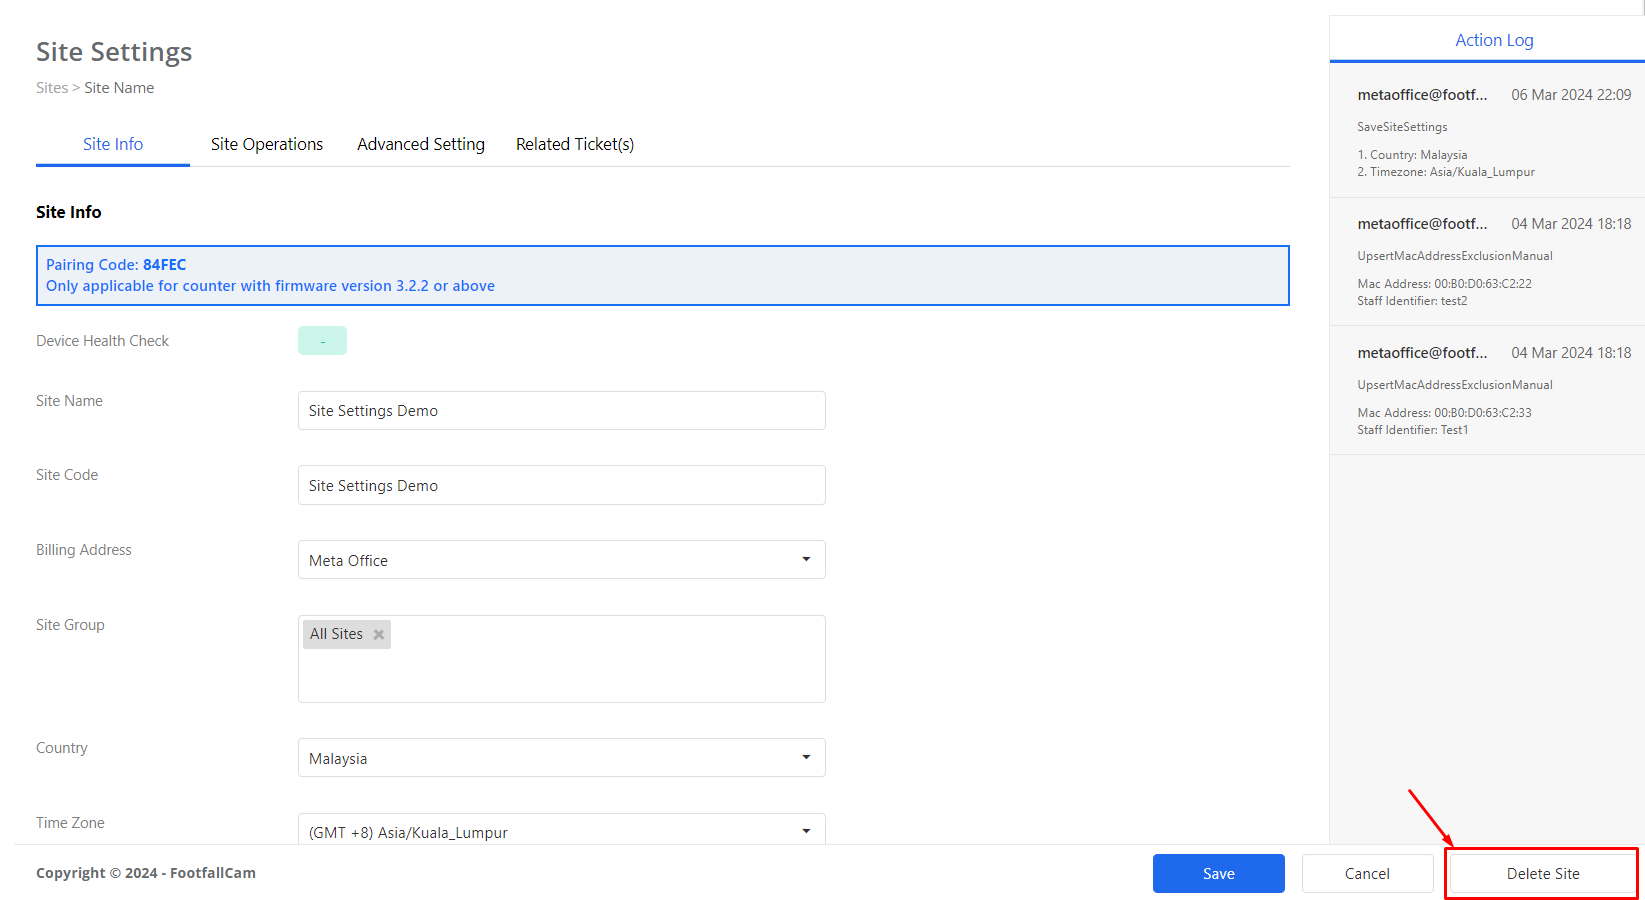


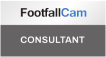

The Site Setting page allows the user to view/configure the settings of a site. These settings are categorized into 4 tabs which each tab can view and modify different aspect of settings of the site. These 4 tabs are:
-
Site Info
-
Site Operations
-
Advanced Settings
-
Related Ticket(s)
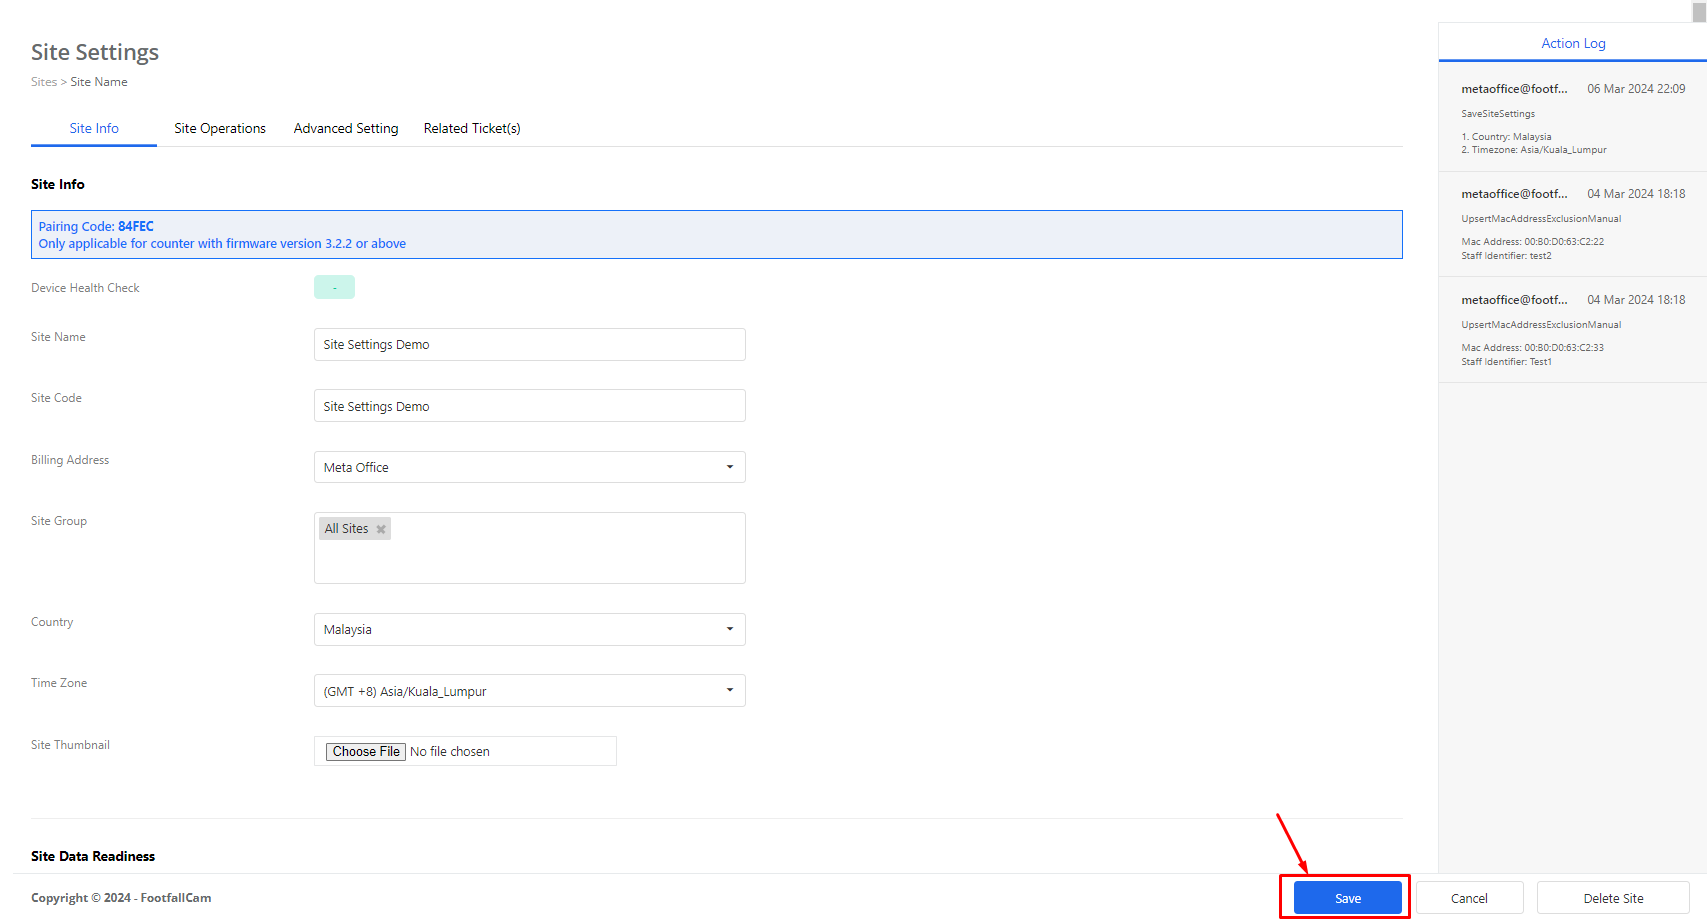
Site Info
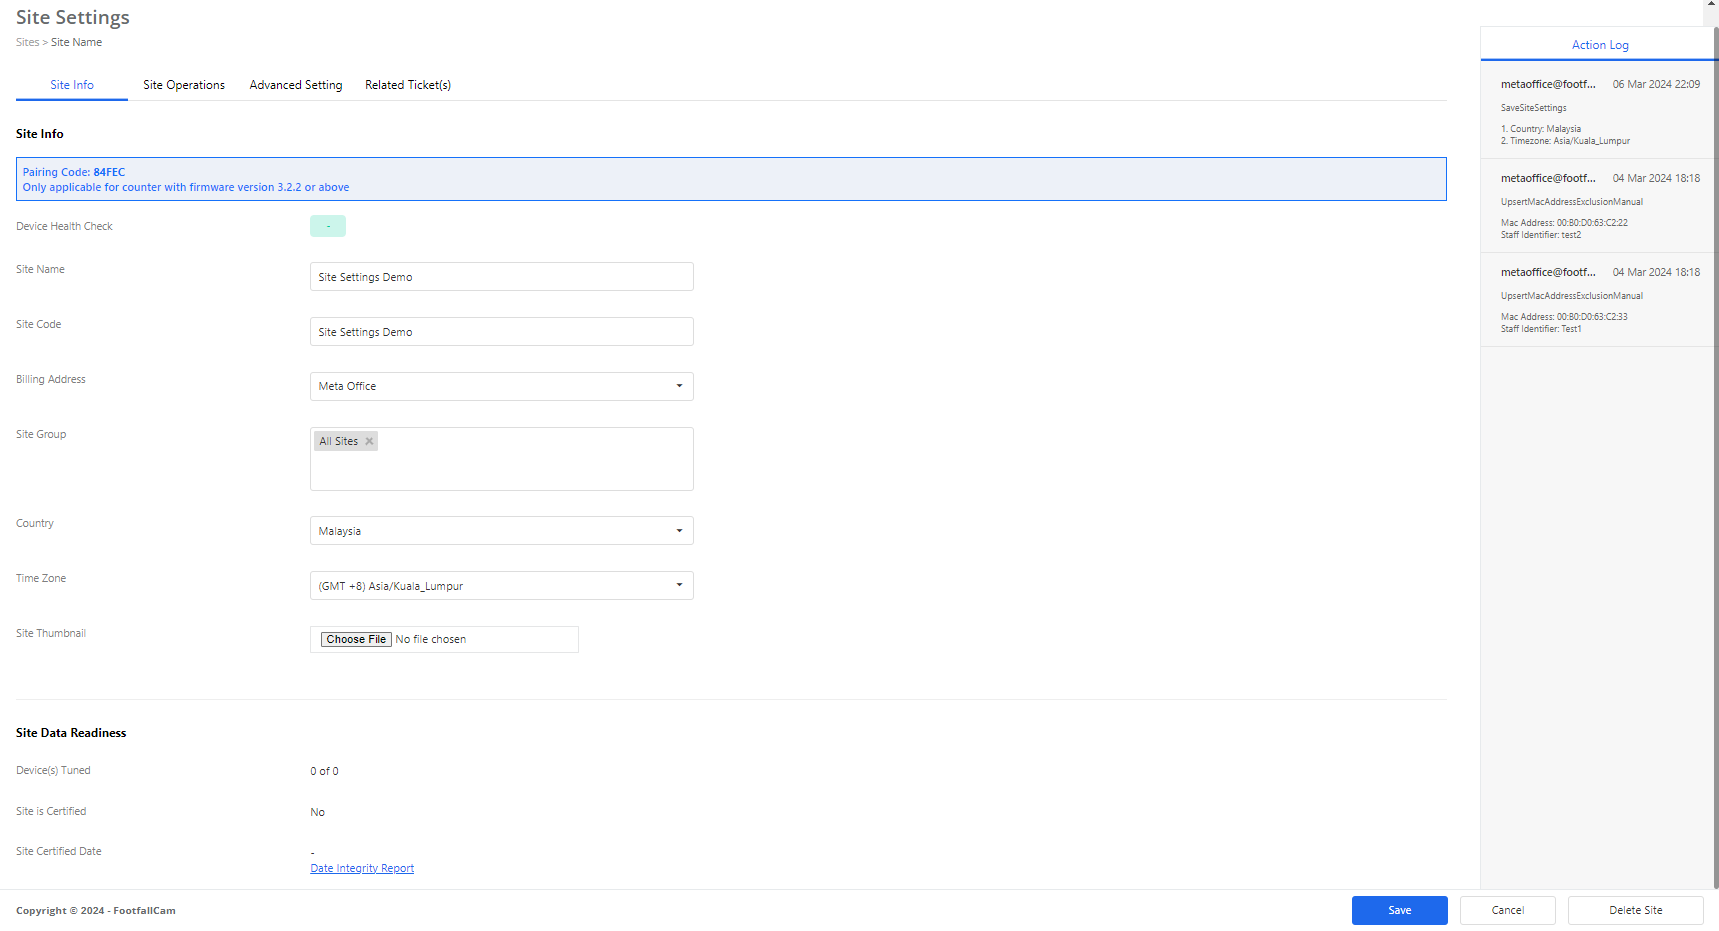
In this tab, there are 2 sections which are Site Info and Site Data Readiness. In the Site Info section, user can view the basic information of the site as shown below. Users with permission can also modify these details.
-
Pairing Code
-
Site Name
-
Site Code
-
Billing Address
-
Site Group
-
Country
-
Time Zone
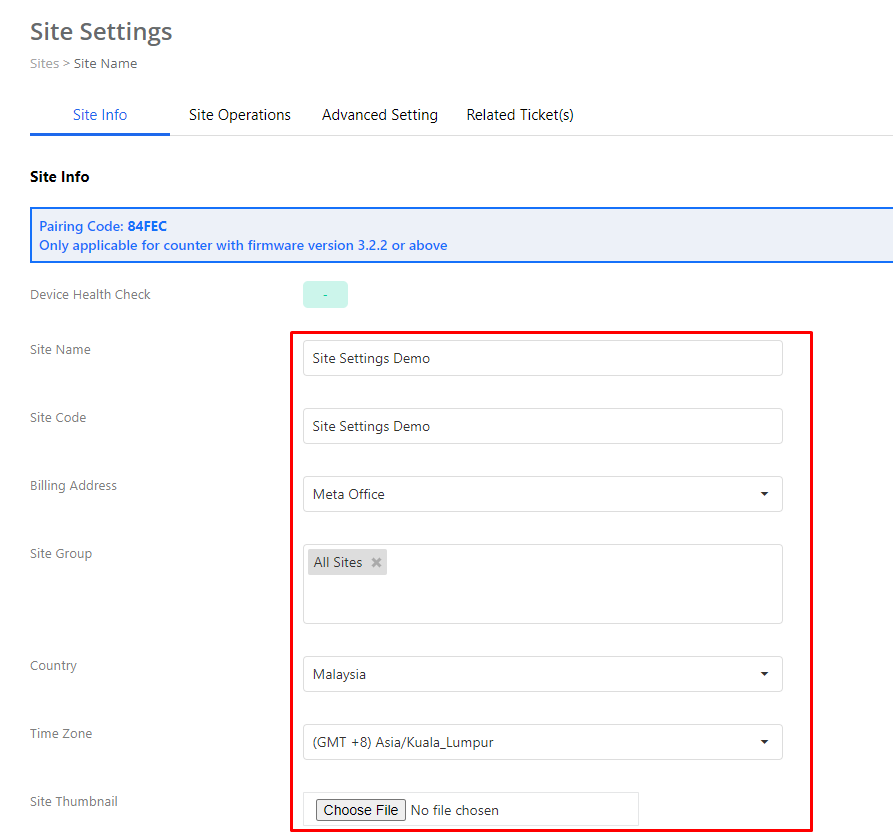
And for Site Data Readiness section, it will show the information that indicate the readiness of a site including:
-
Total Number of Devices Allocated to The Site
-
Total Number of Tuned Devices
-
Is Site Certified?
-
Site Certified Date
-
Data Integrity Report Link
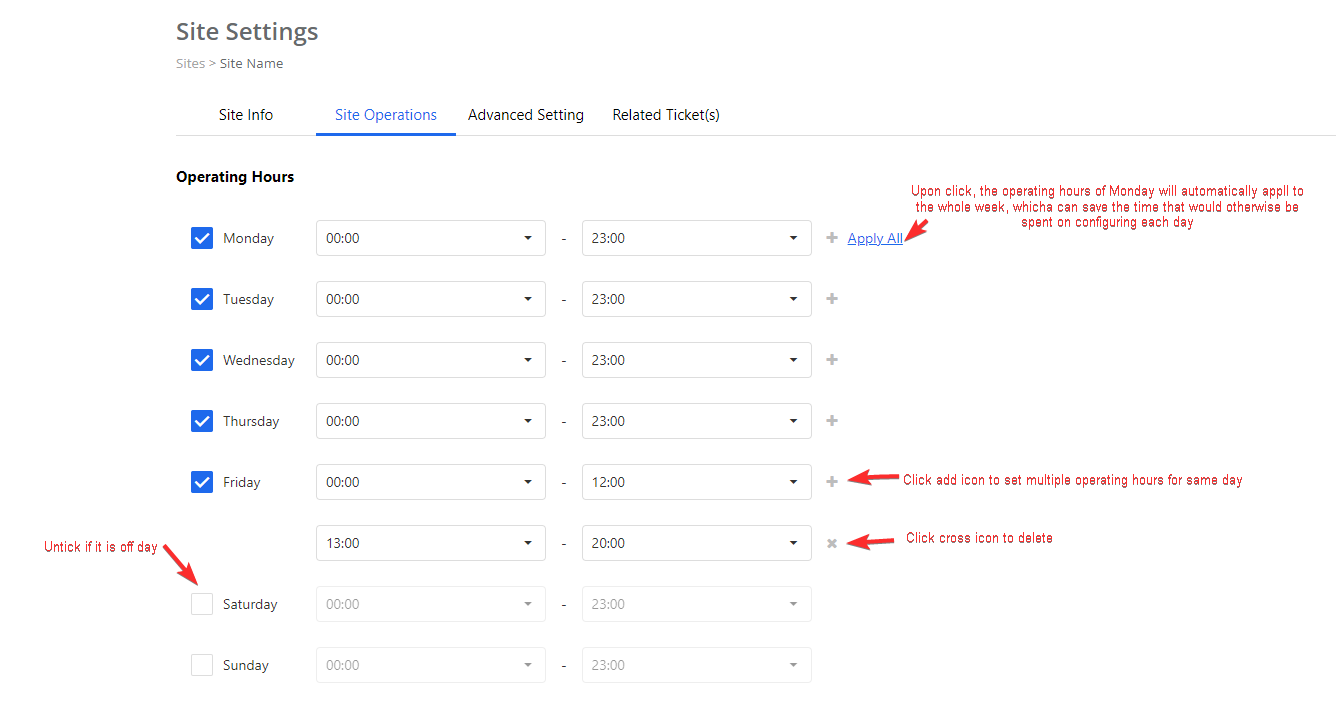
Site Operations
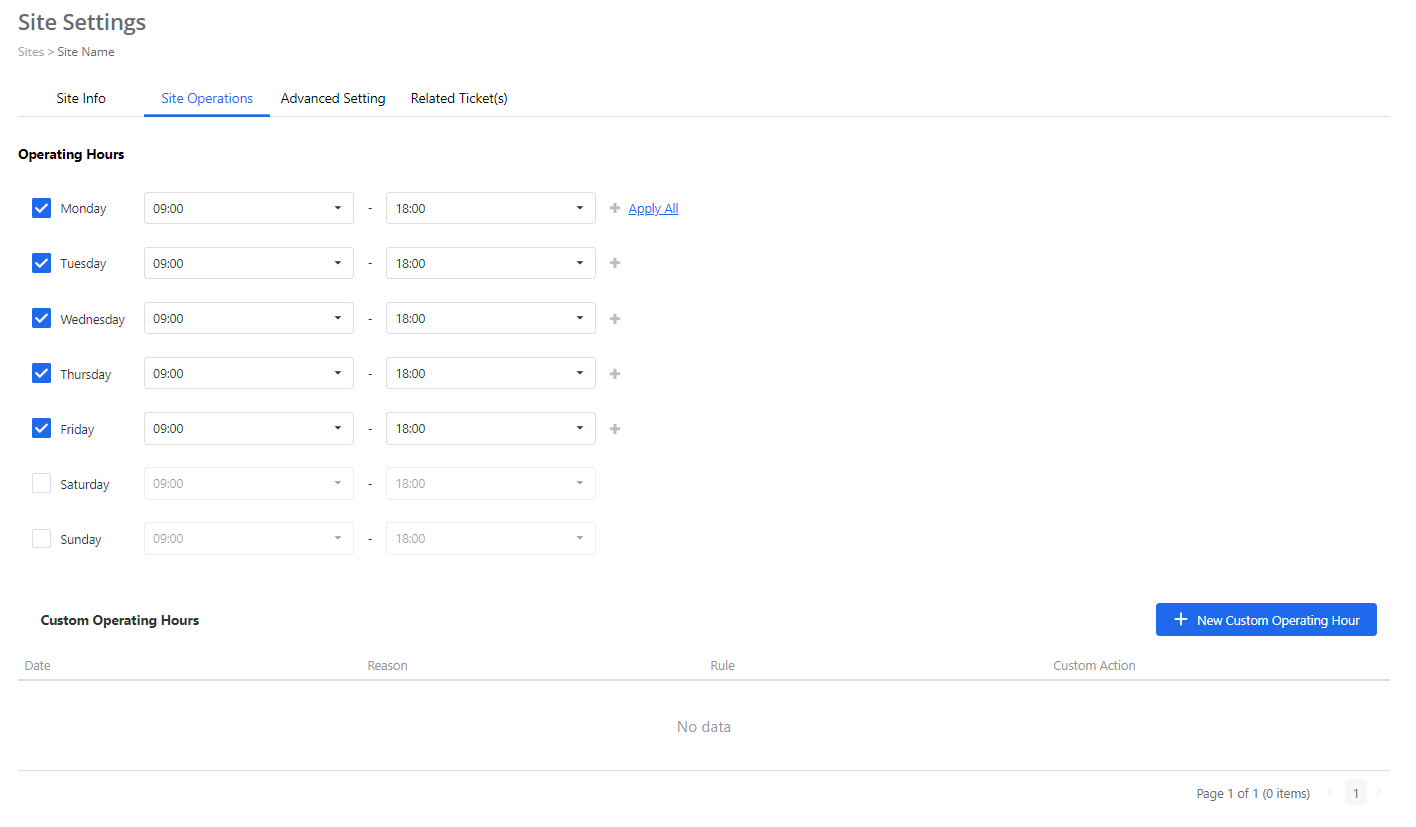
In this tab, the user can view and configure the operating hours of the site. Apart from that, the user can also view and add custom operating hours for the site. For example, the user can add Christmas as an off day and can also set specific day to only operate for specific hours in this section.
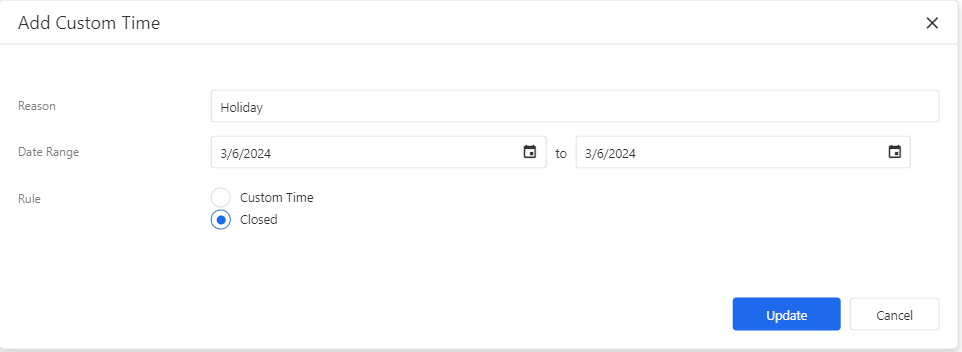
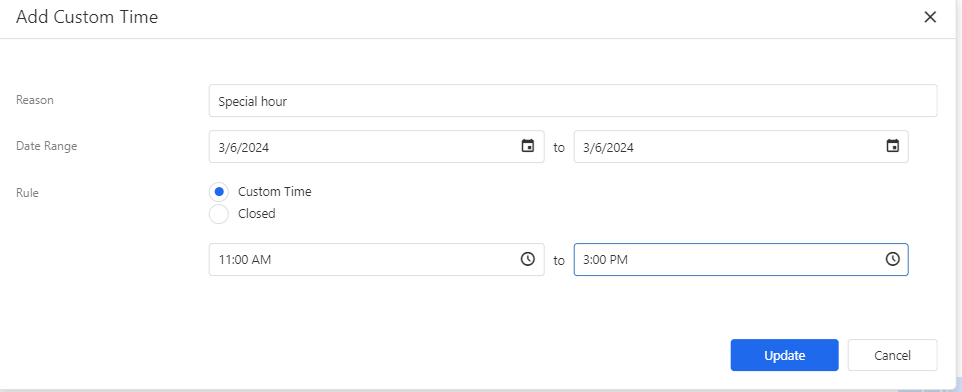
The user can follow the below steps to add new custom operating hours:


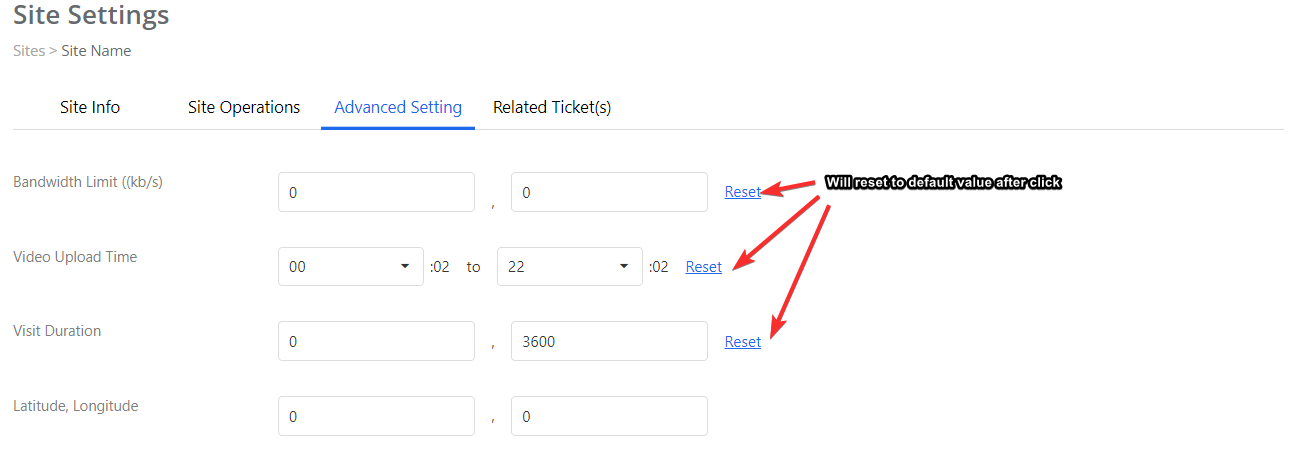
Advanced Settings
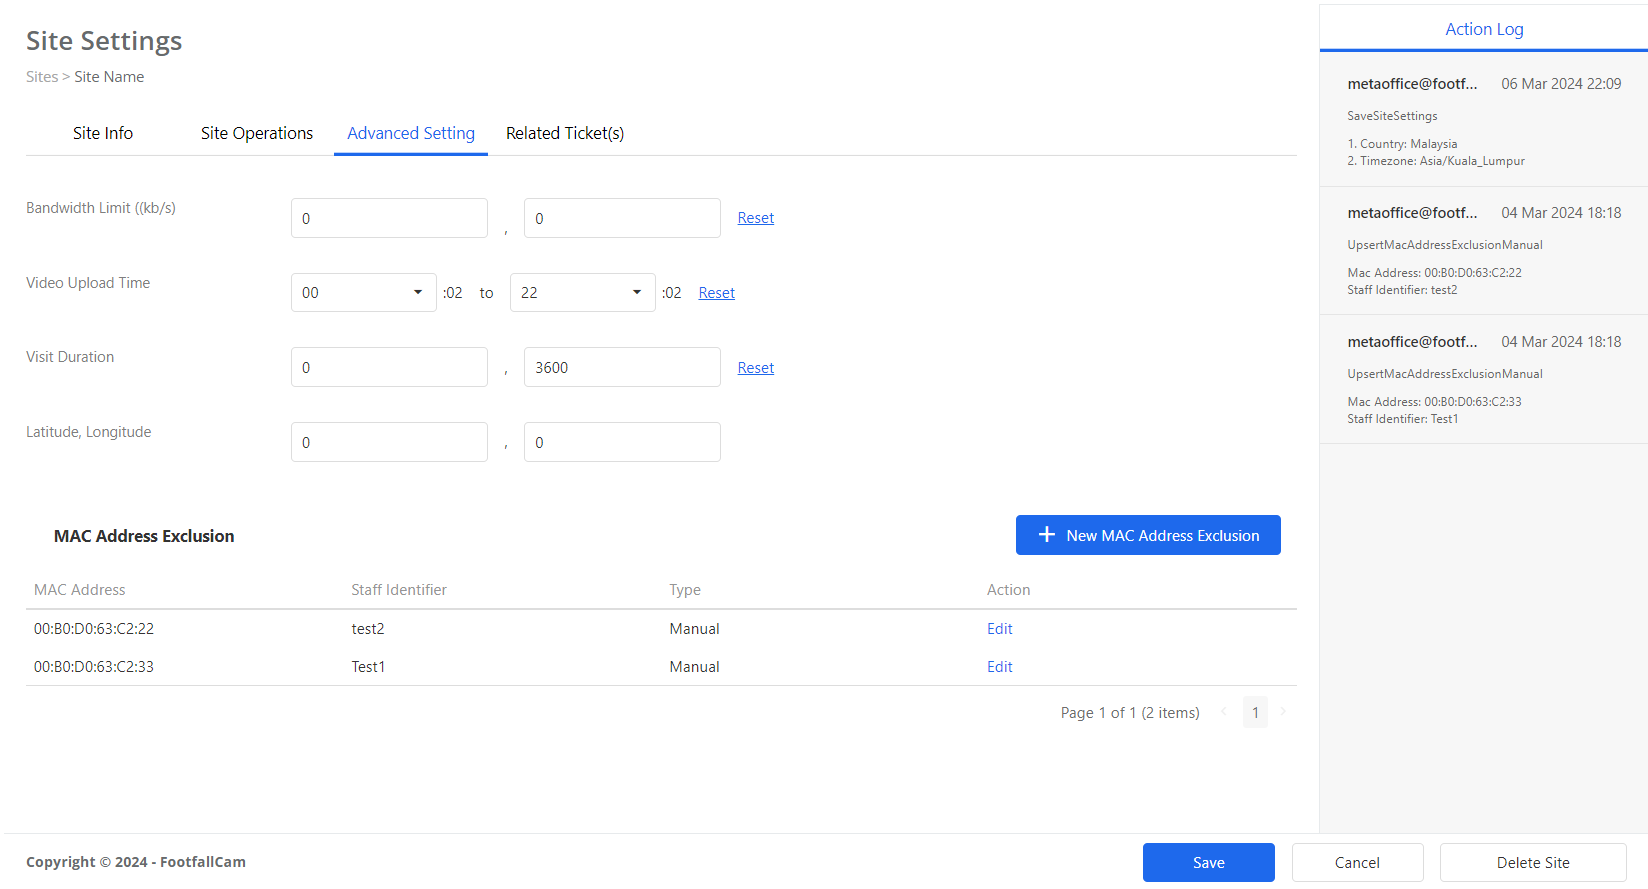
In this tab, user can view the below advanced settings of the site. Users with permission can also modify these settings.
-
Bandwidth Limit ((kb/s)
-
Video Upload Time
-
Visit Duration
-
Latitude, Longitude
-
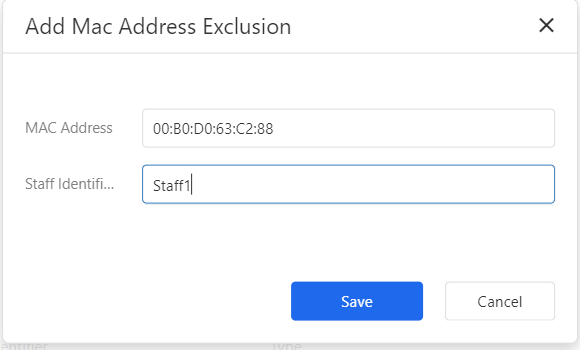
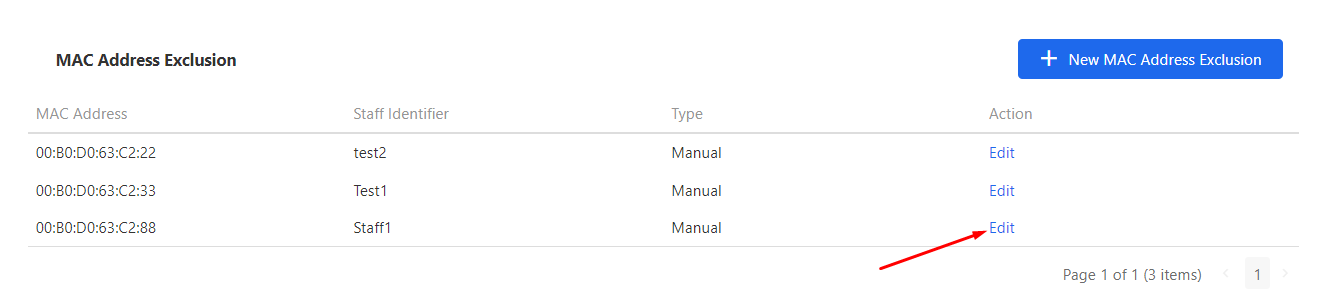
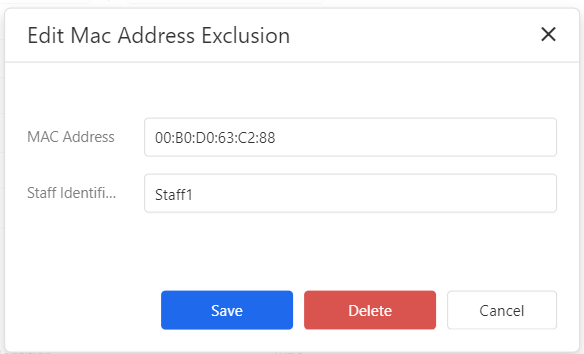
MAC Address Exclusion
The user can add the MAC address exclusion in this tab so that the devices with the MAC addresses will not be counted by the FootfallCam counter.

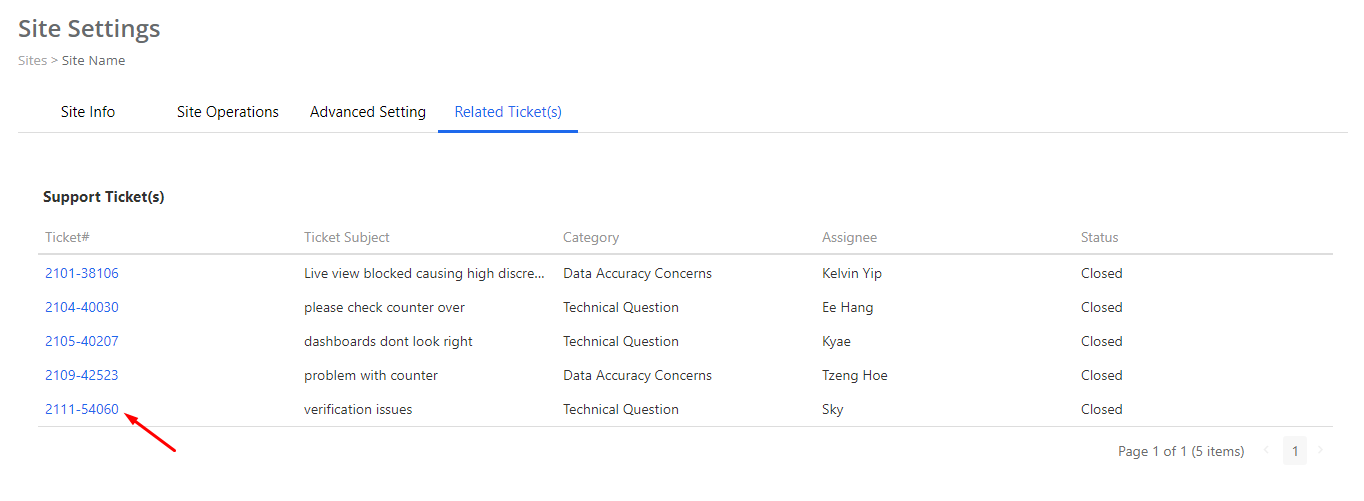
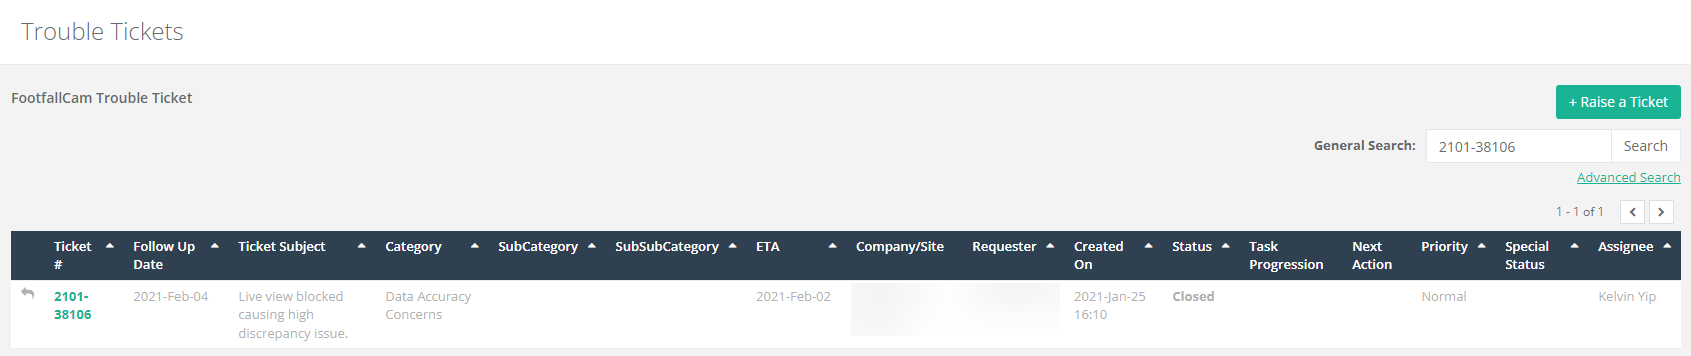
Related Ticket(s)
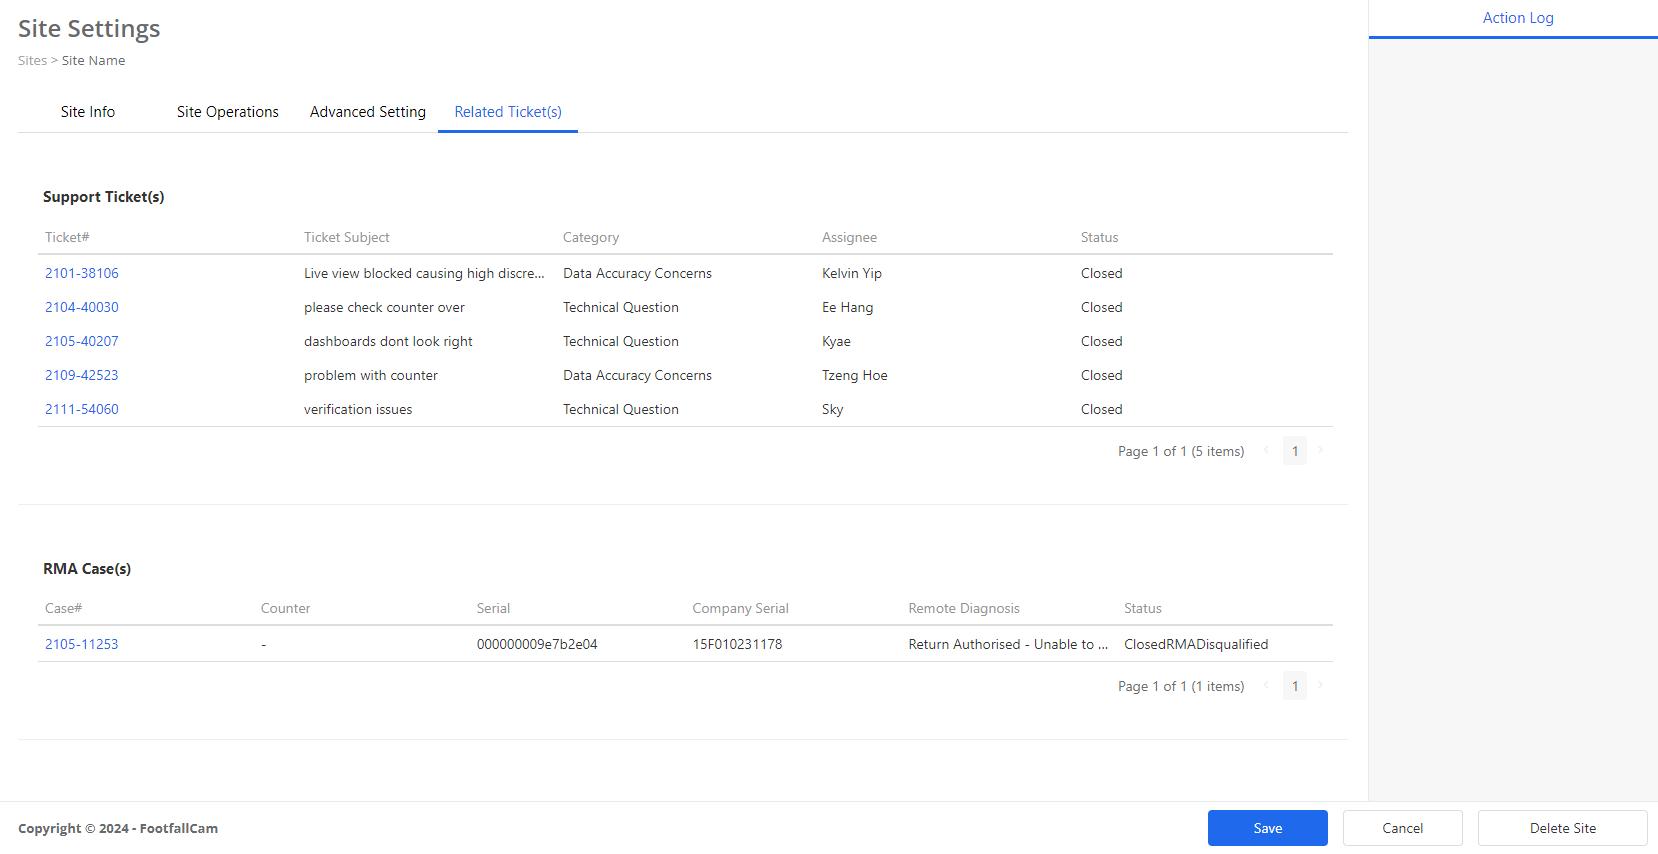
In this tab, user can view all the support tickets and RMA tickets that are related to the site.


Save Changes
User needs to click the "Save" button after performing any modification so that the changes made can be saved.
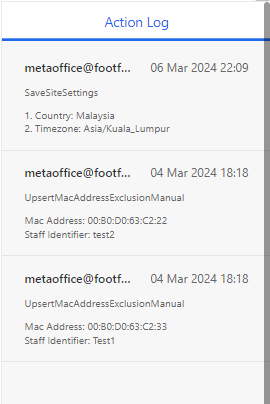
Action Log
Users can see all the changes that have previously been performed to this site in the action log.
Action Log
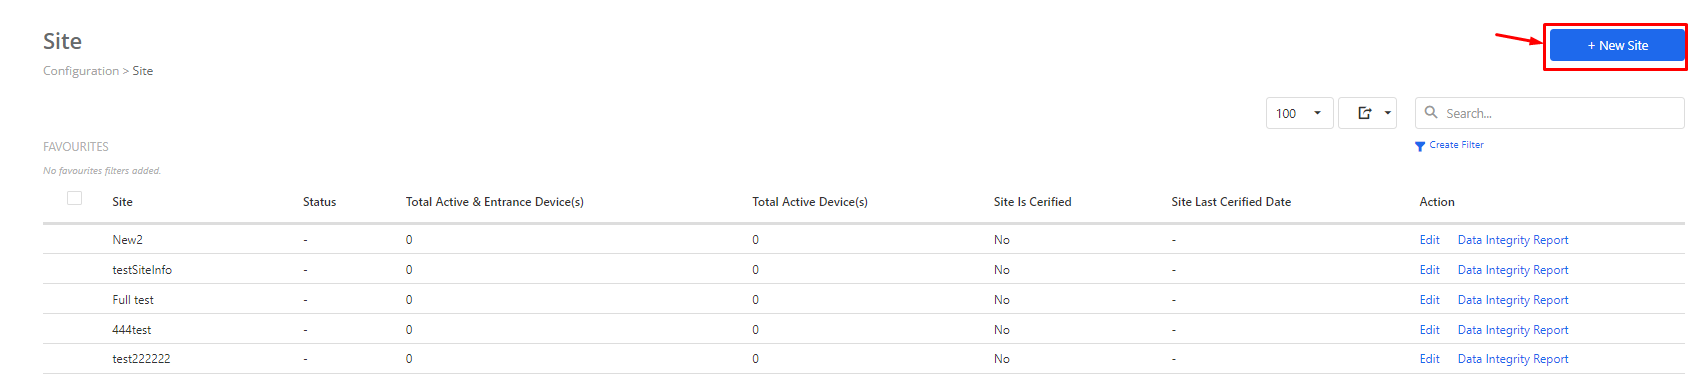
Create and Delete Site
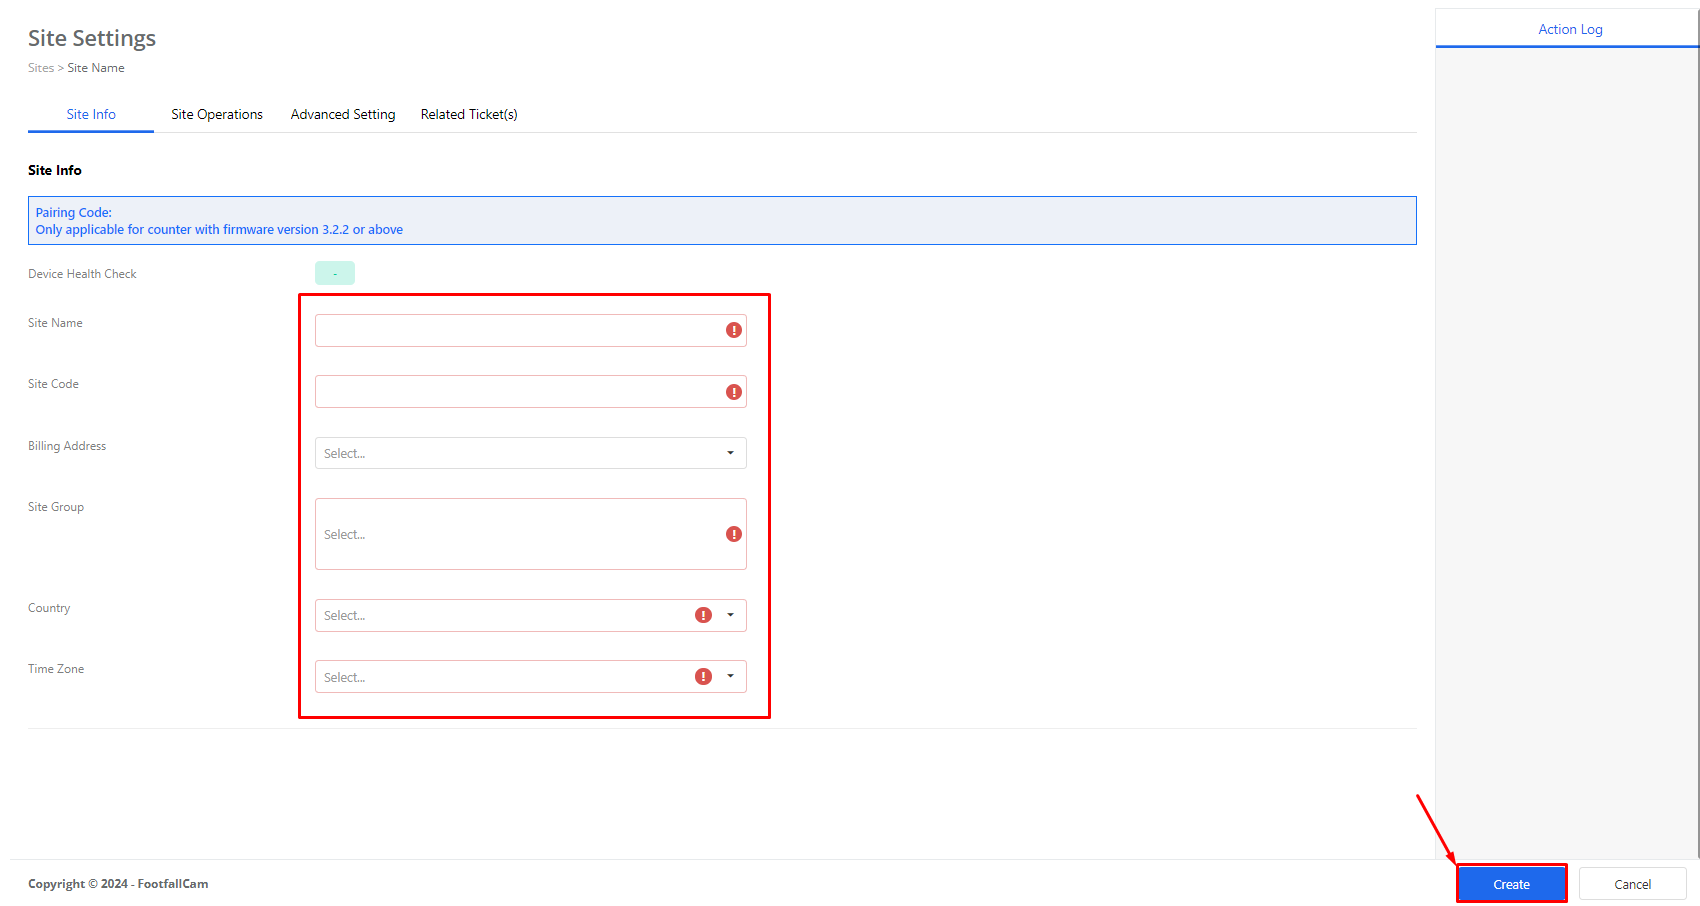
To create a new site, all the columns in the Site Info tab must be filled in, then the site can only be created. If the user possesses permission to create a site, he may follow the below steps to create a site:

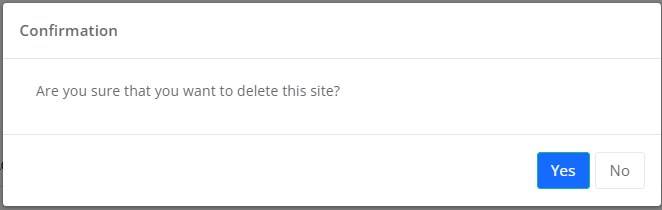
If the user possesses permission to delete a site, he may delete the site with the following steps: