|
Magic-Mirror-Control-Panel.pdf
Download (217 kb)
|
How to Create a New Demo App
Create New Event
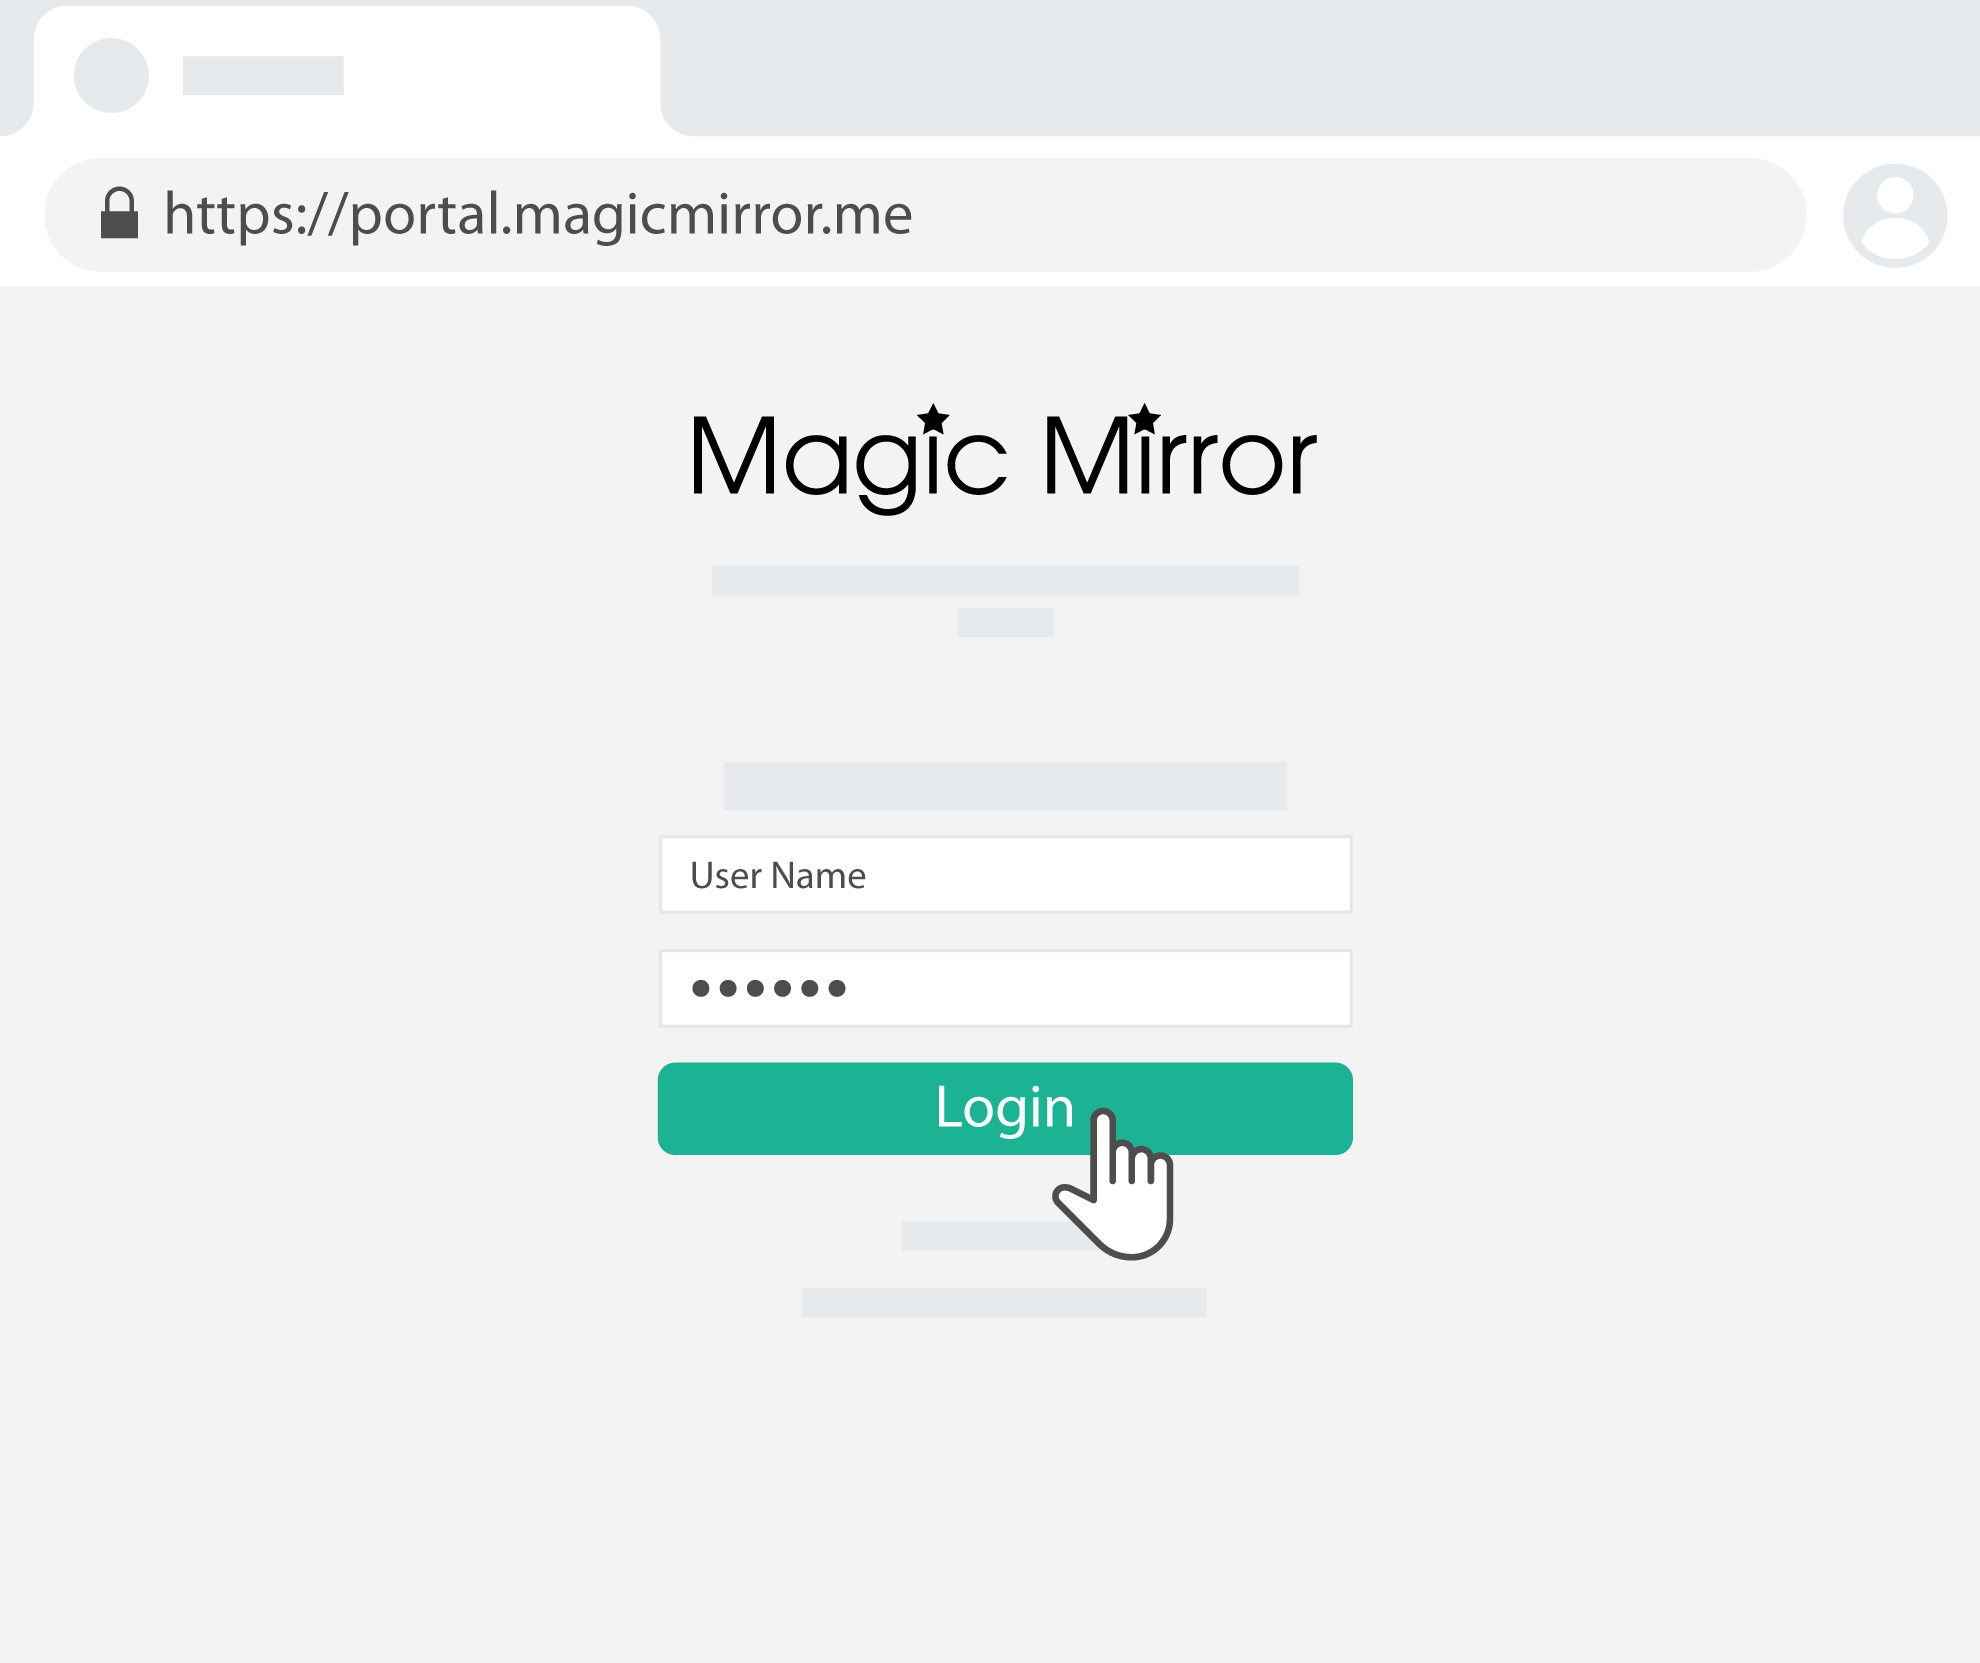 |
- Login to Magic Mirror Control Panel via https://portal.magicmirror.me/
|
| |
|
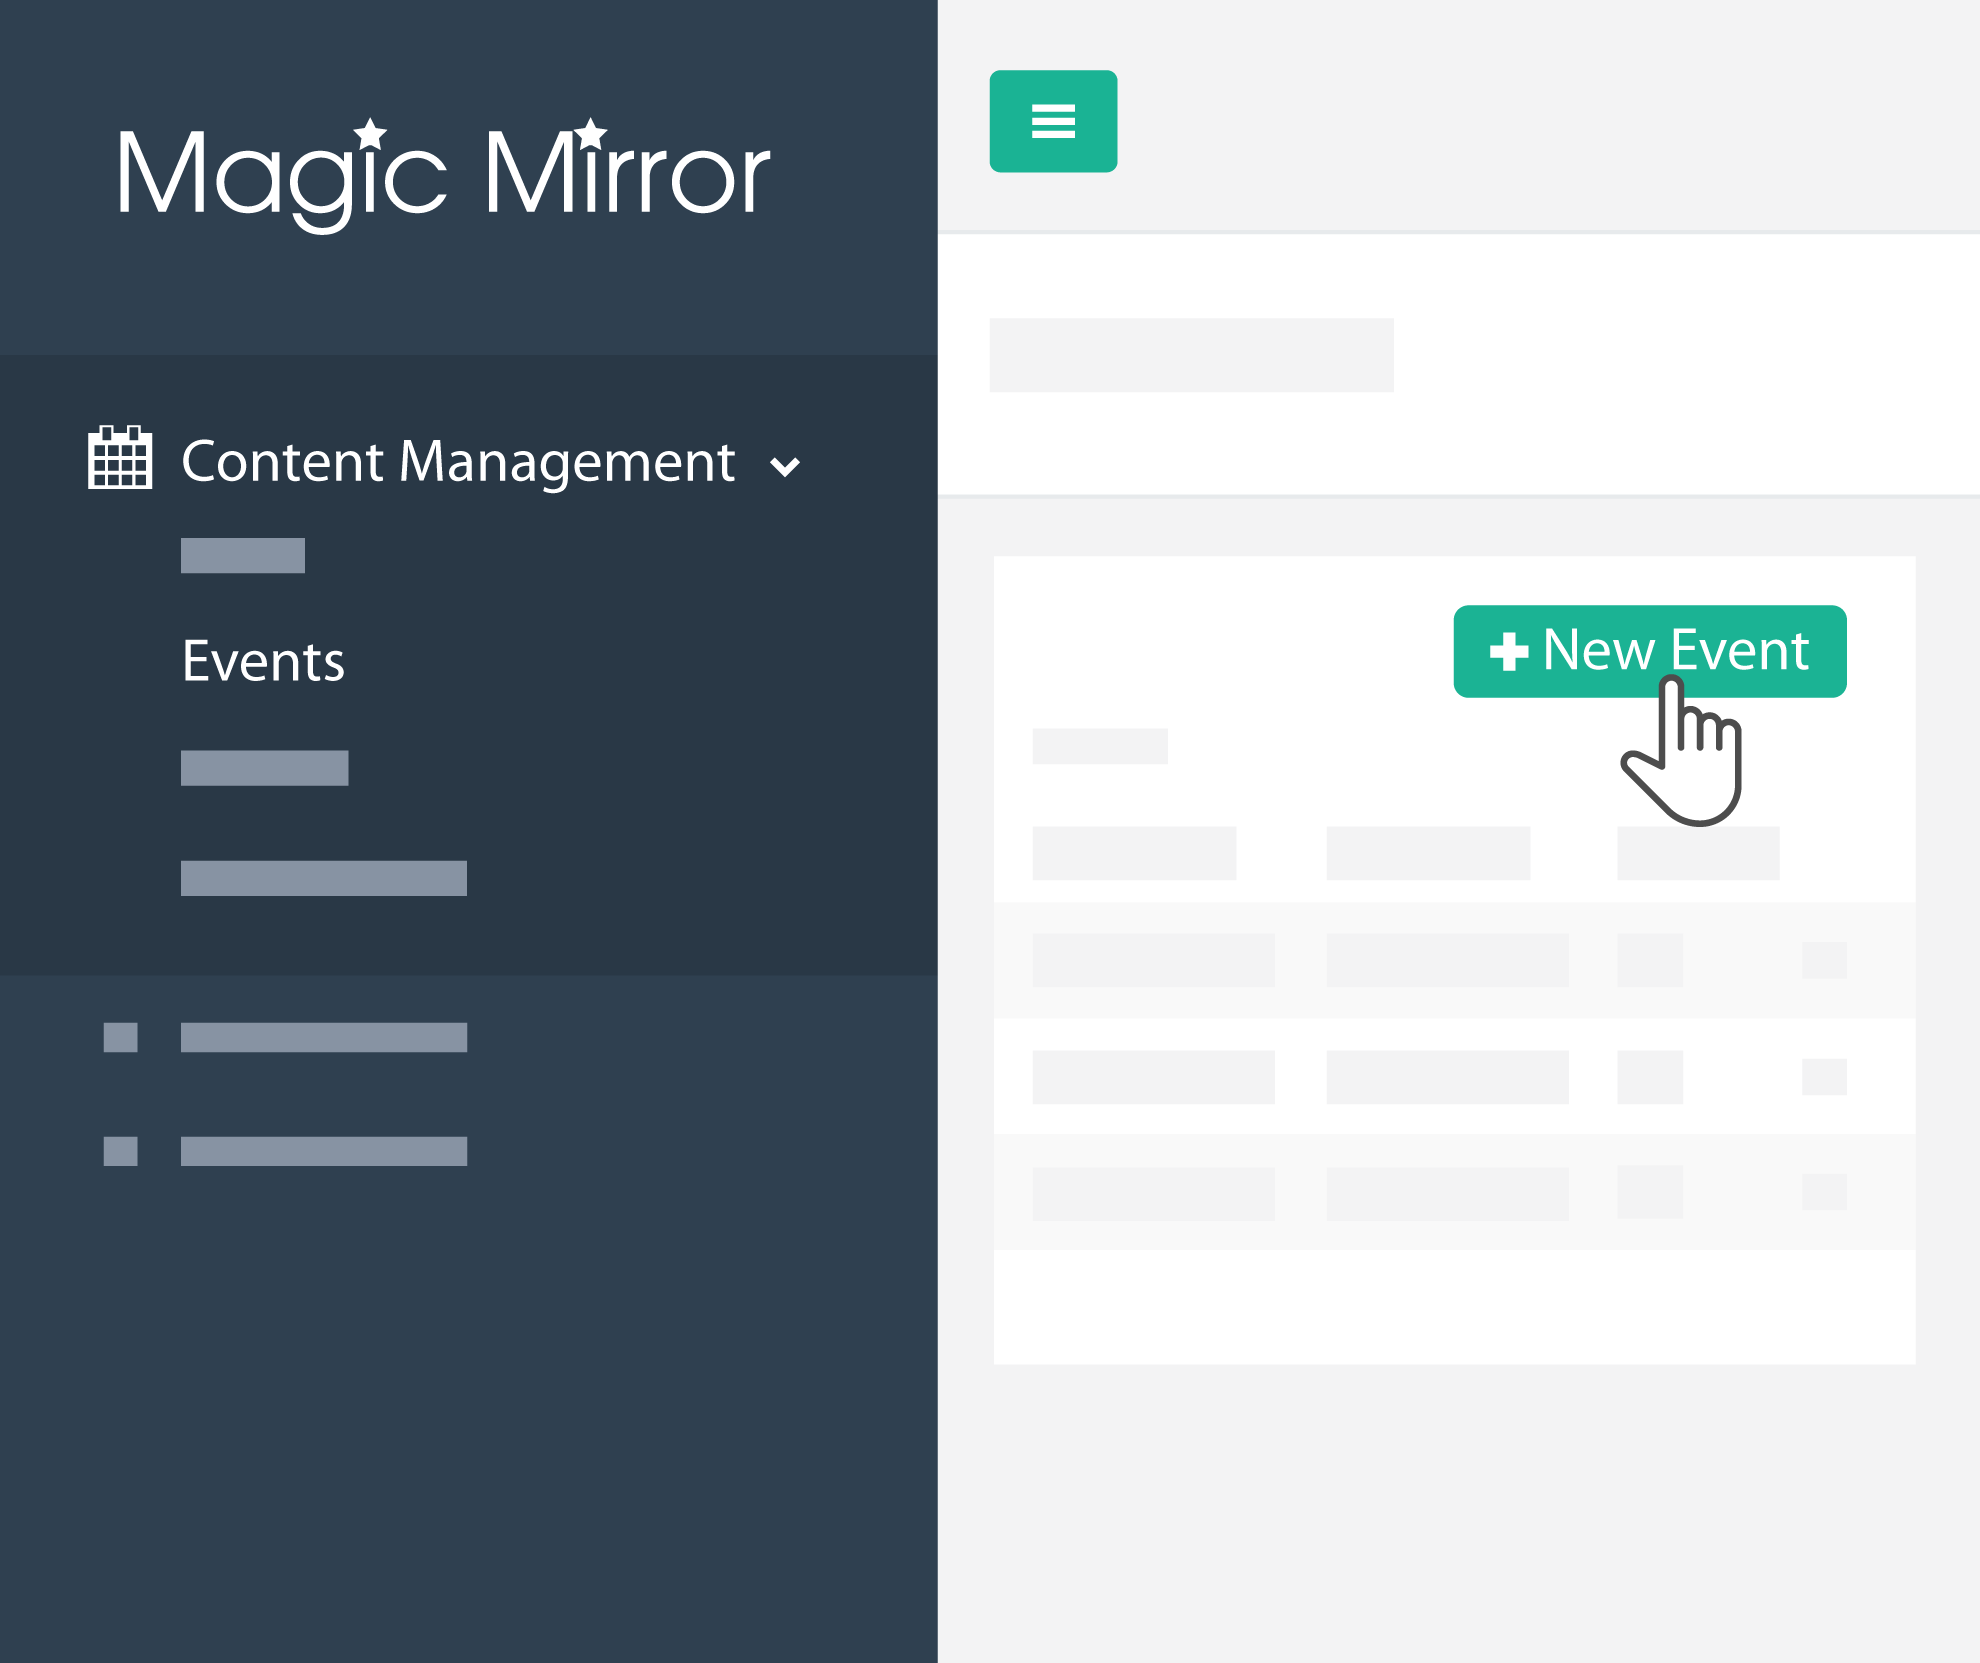 |
- Go to "Content Management", click on "Events", click on "+New Event".
|
| |
|
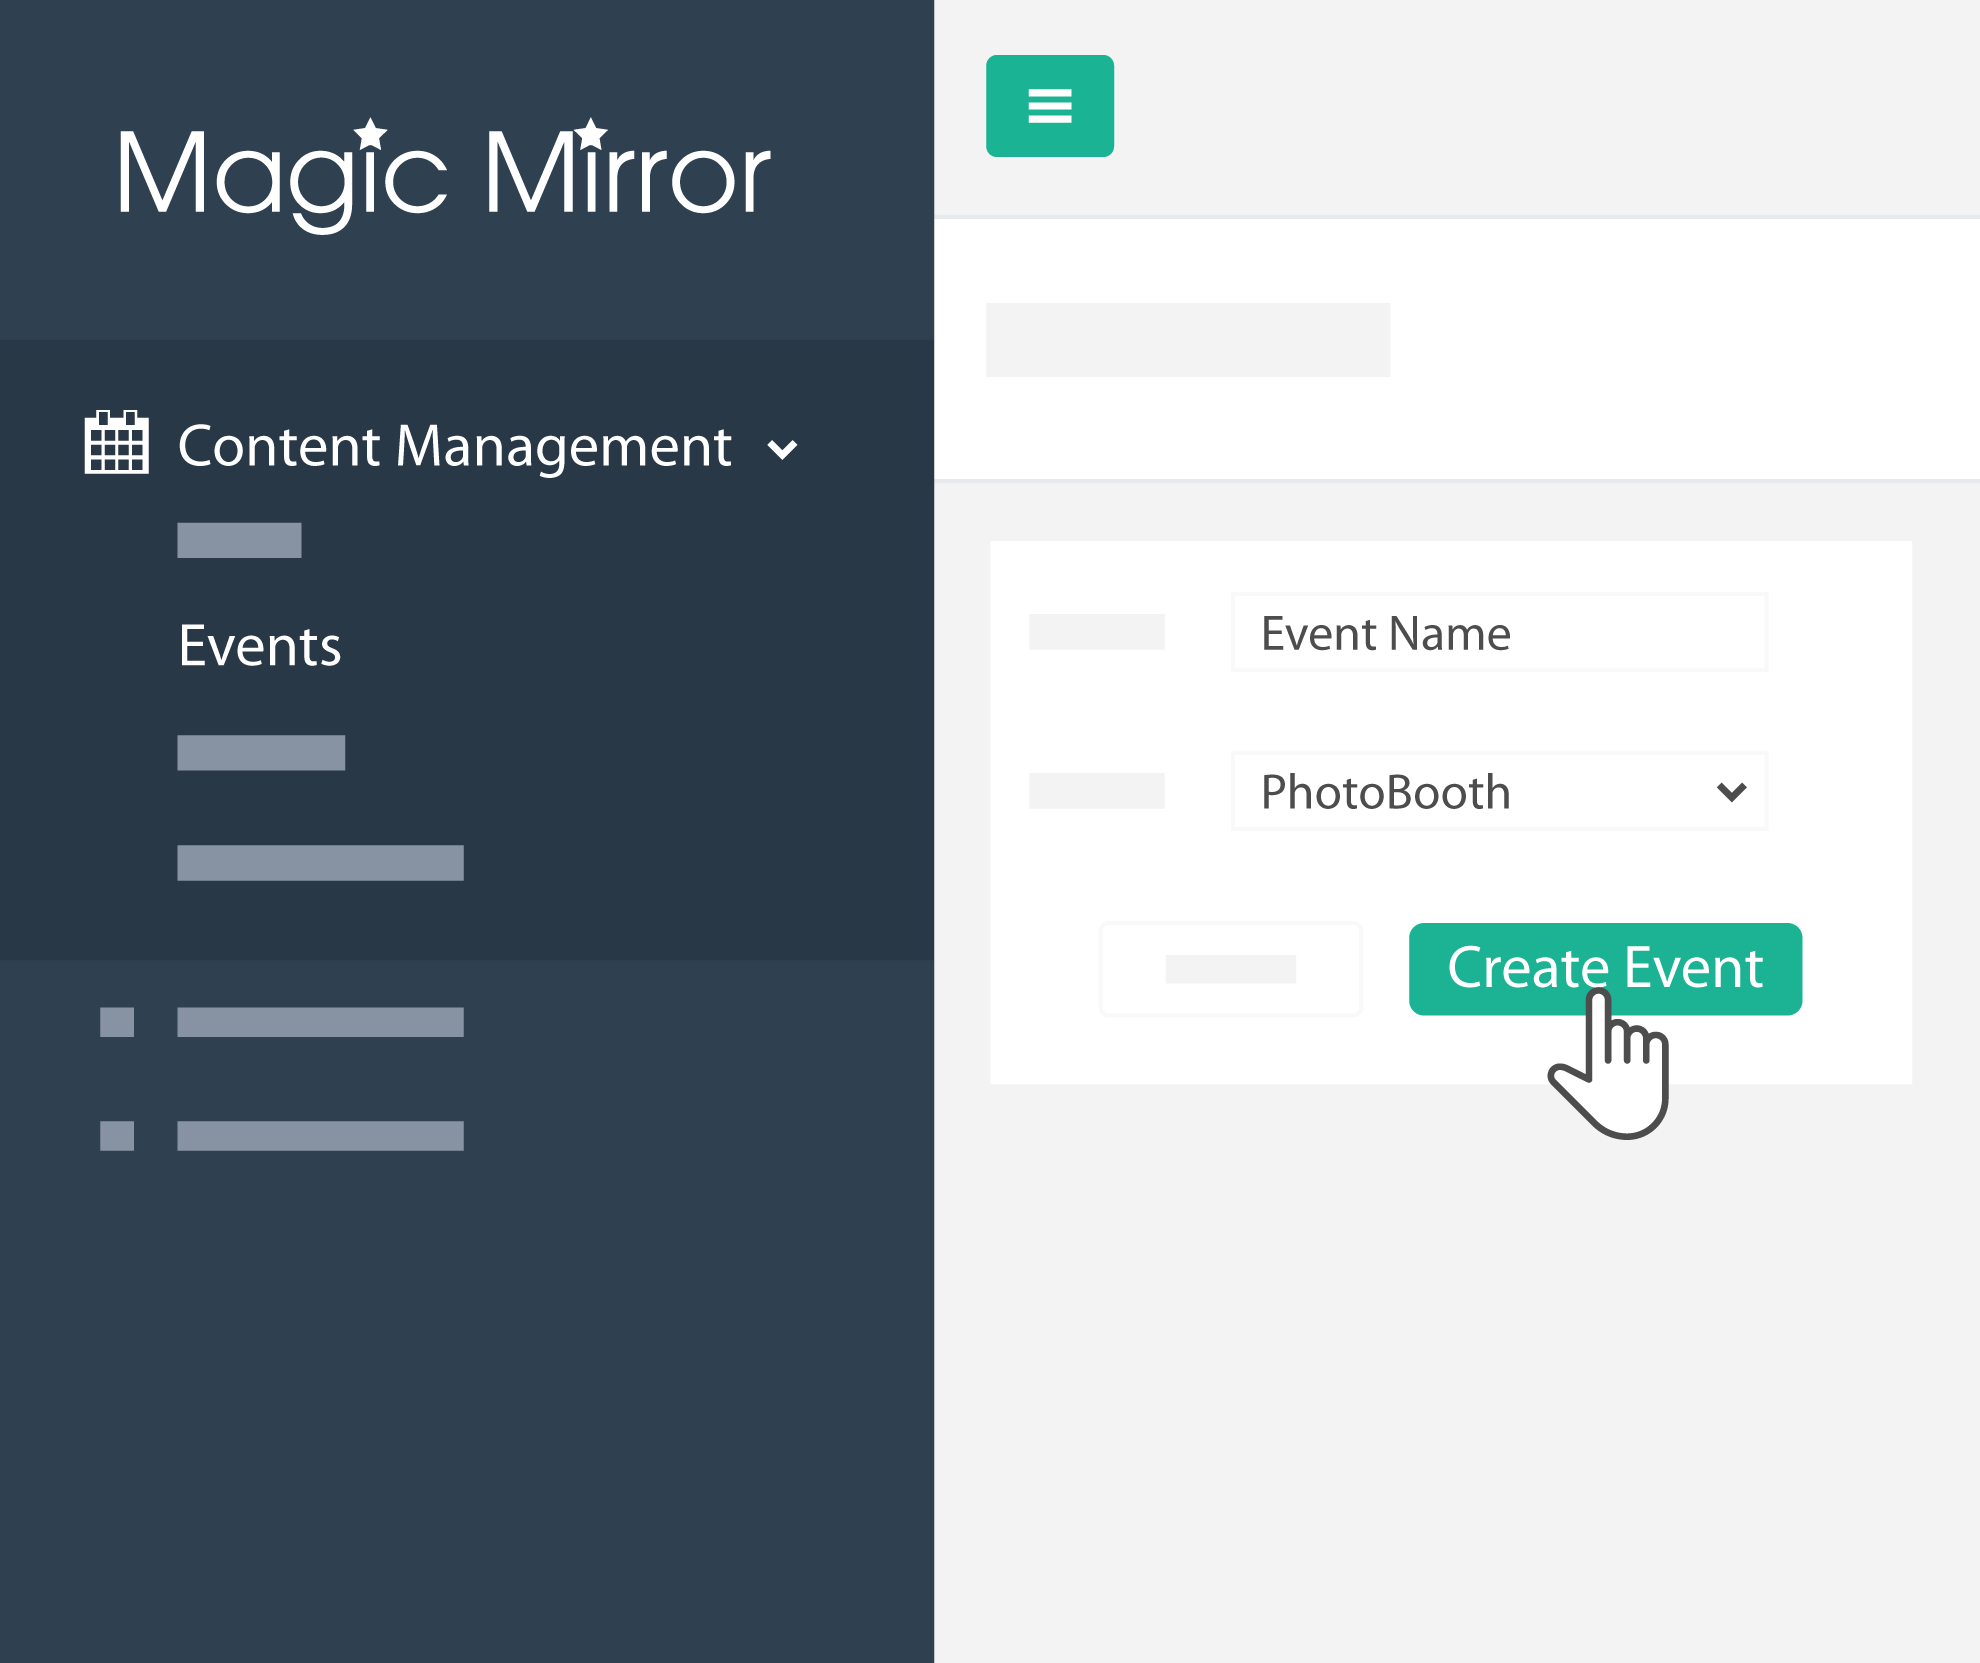 |
- Type in your new event name, select the app type, and click on "Create Event"
|
| |
|
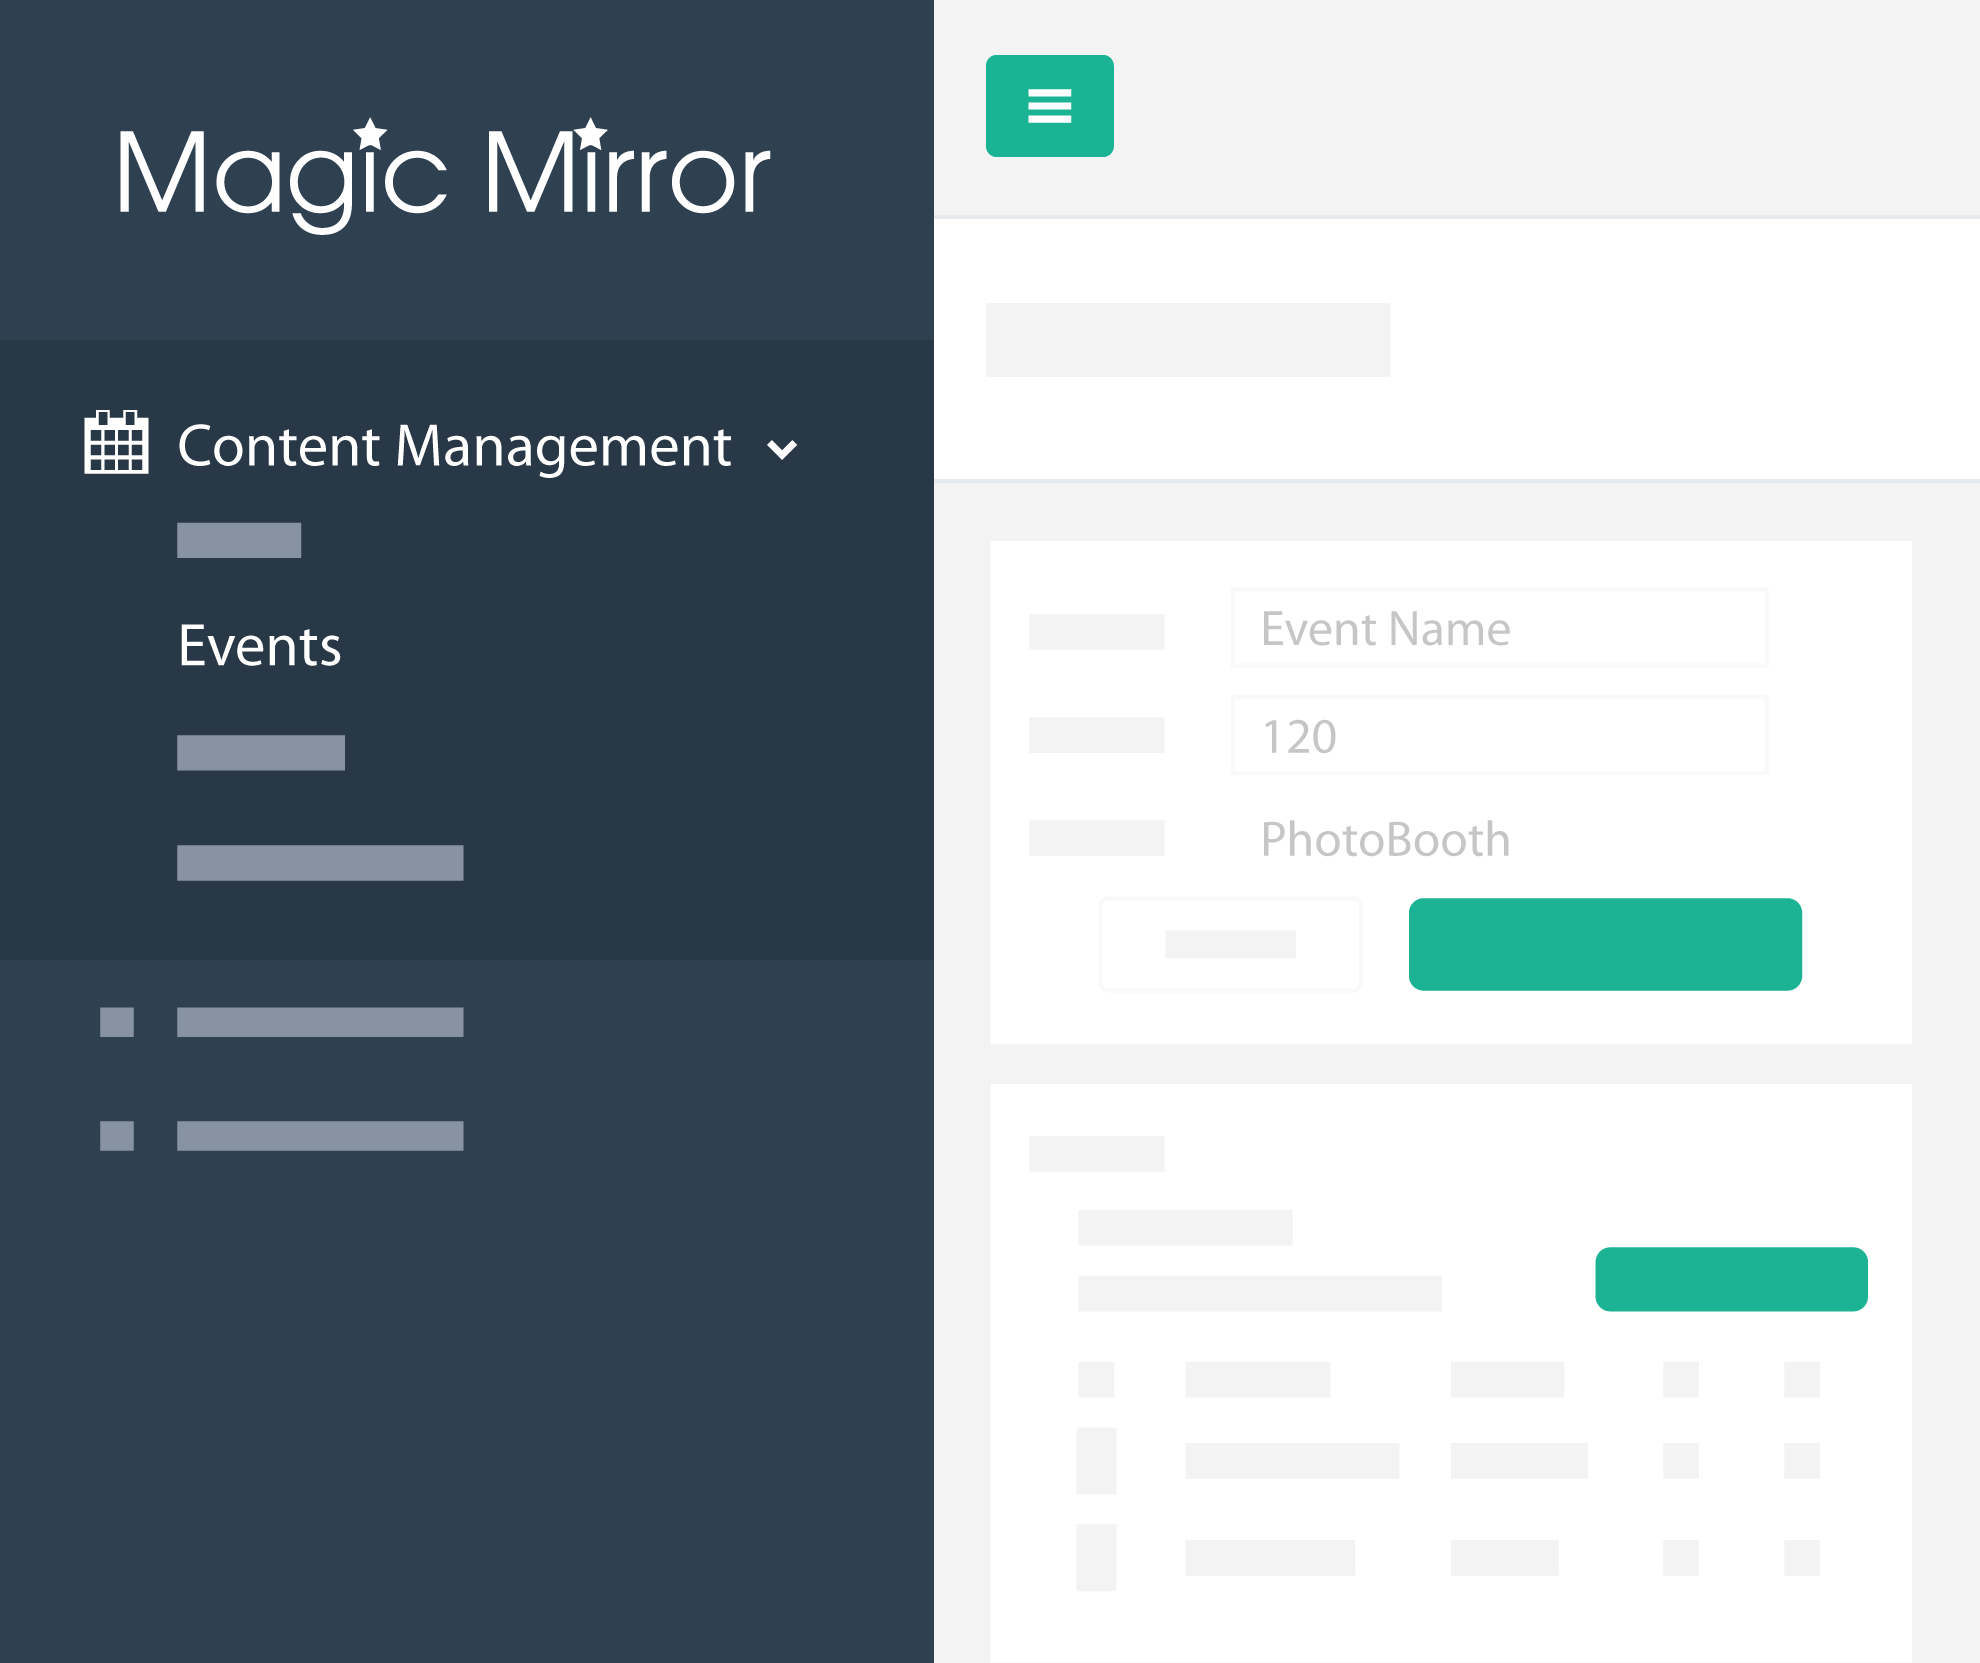 |
- You'll be led to this page where you can change the photo frame, and other graphic assets.
|
|
Create New Playlist
|
|
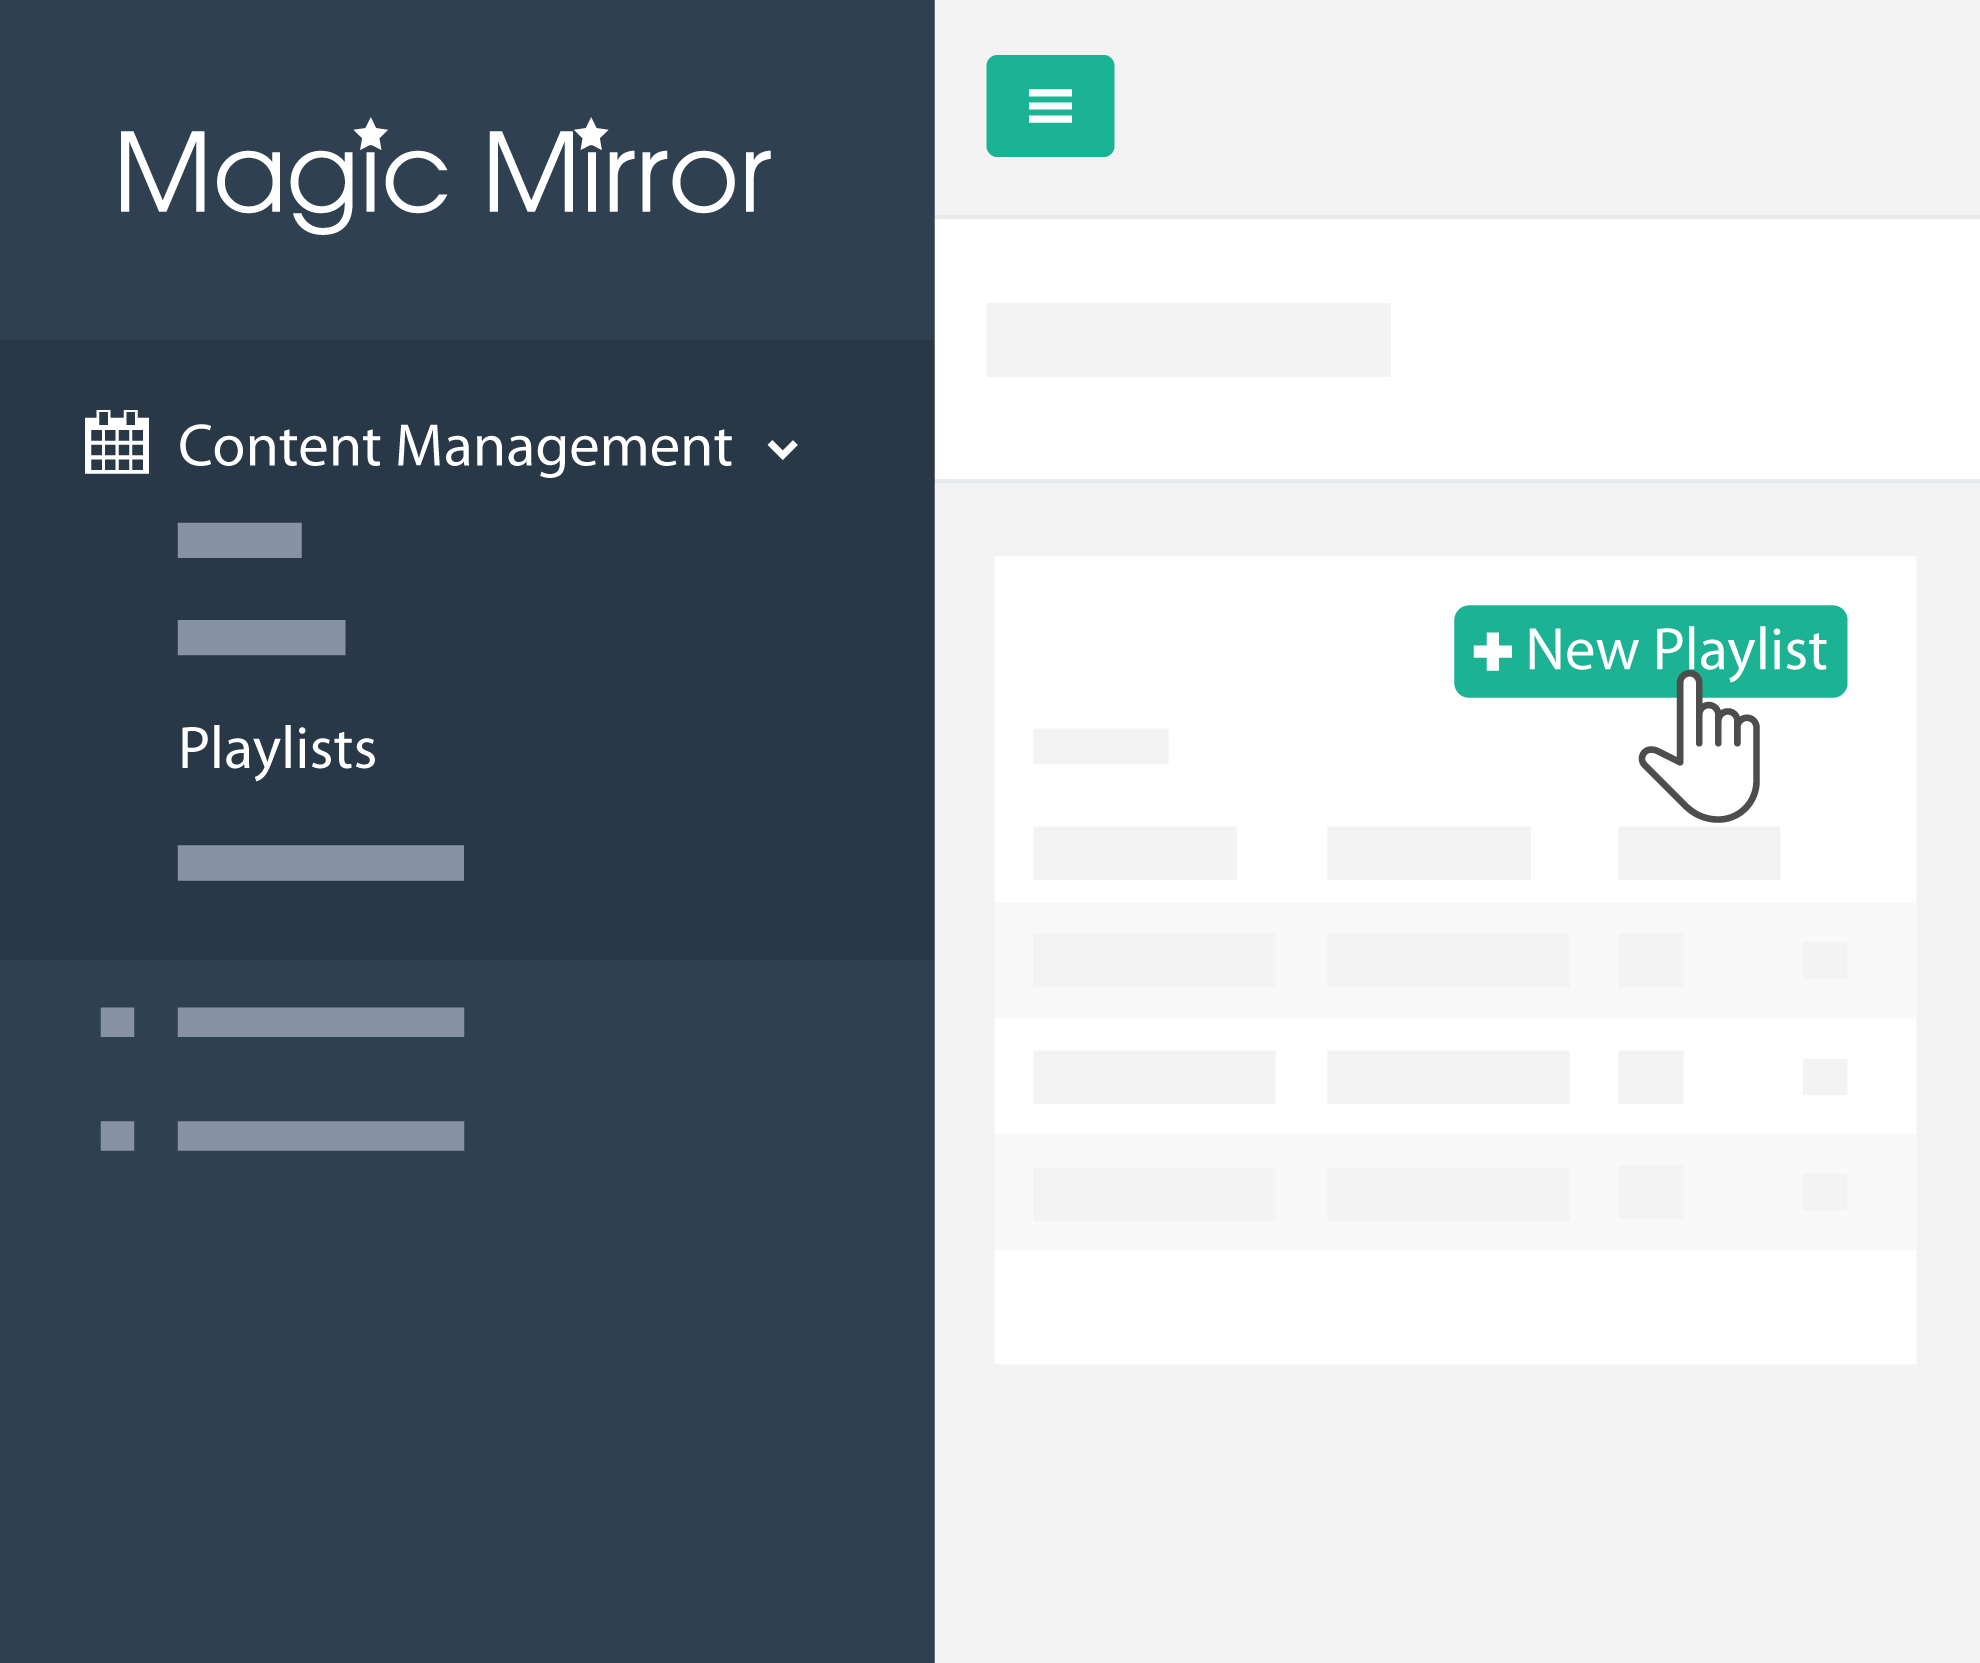 |
- After changing the relevant graphic assets, click on "Playlists" under the "Content Management" and click on "+ New Playlist".
|
| |
|
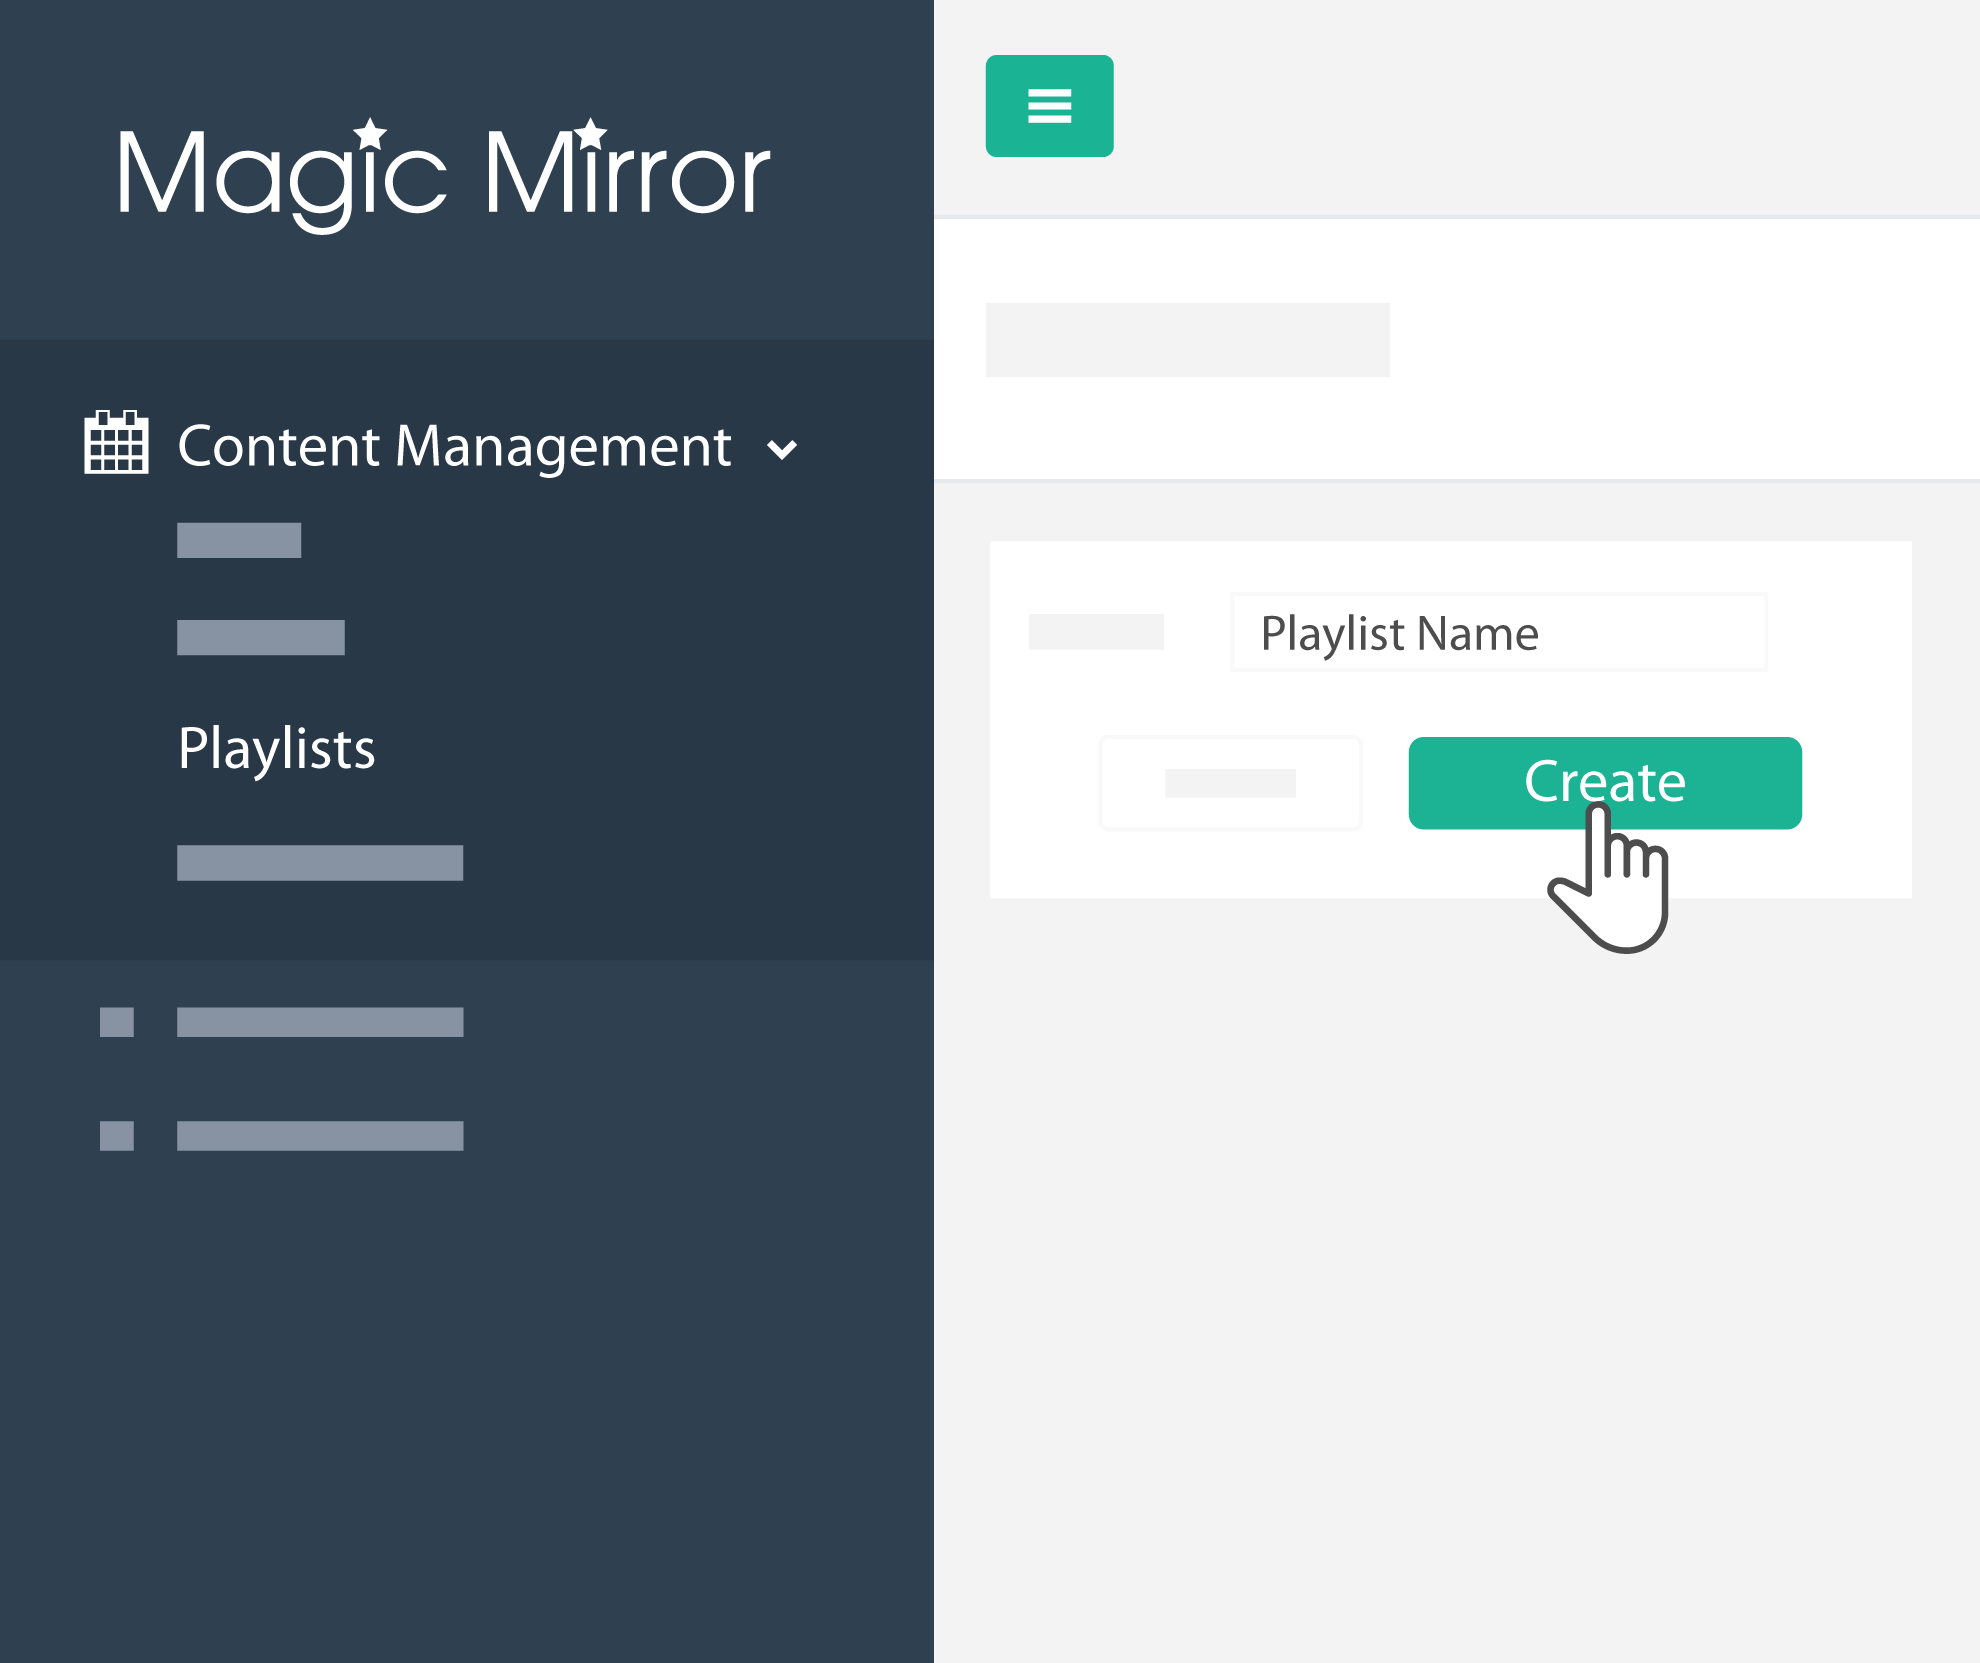 |
- Name your playlist and click on "Create"
|
| |
|
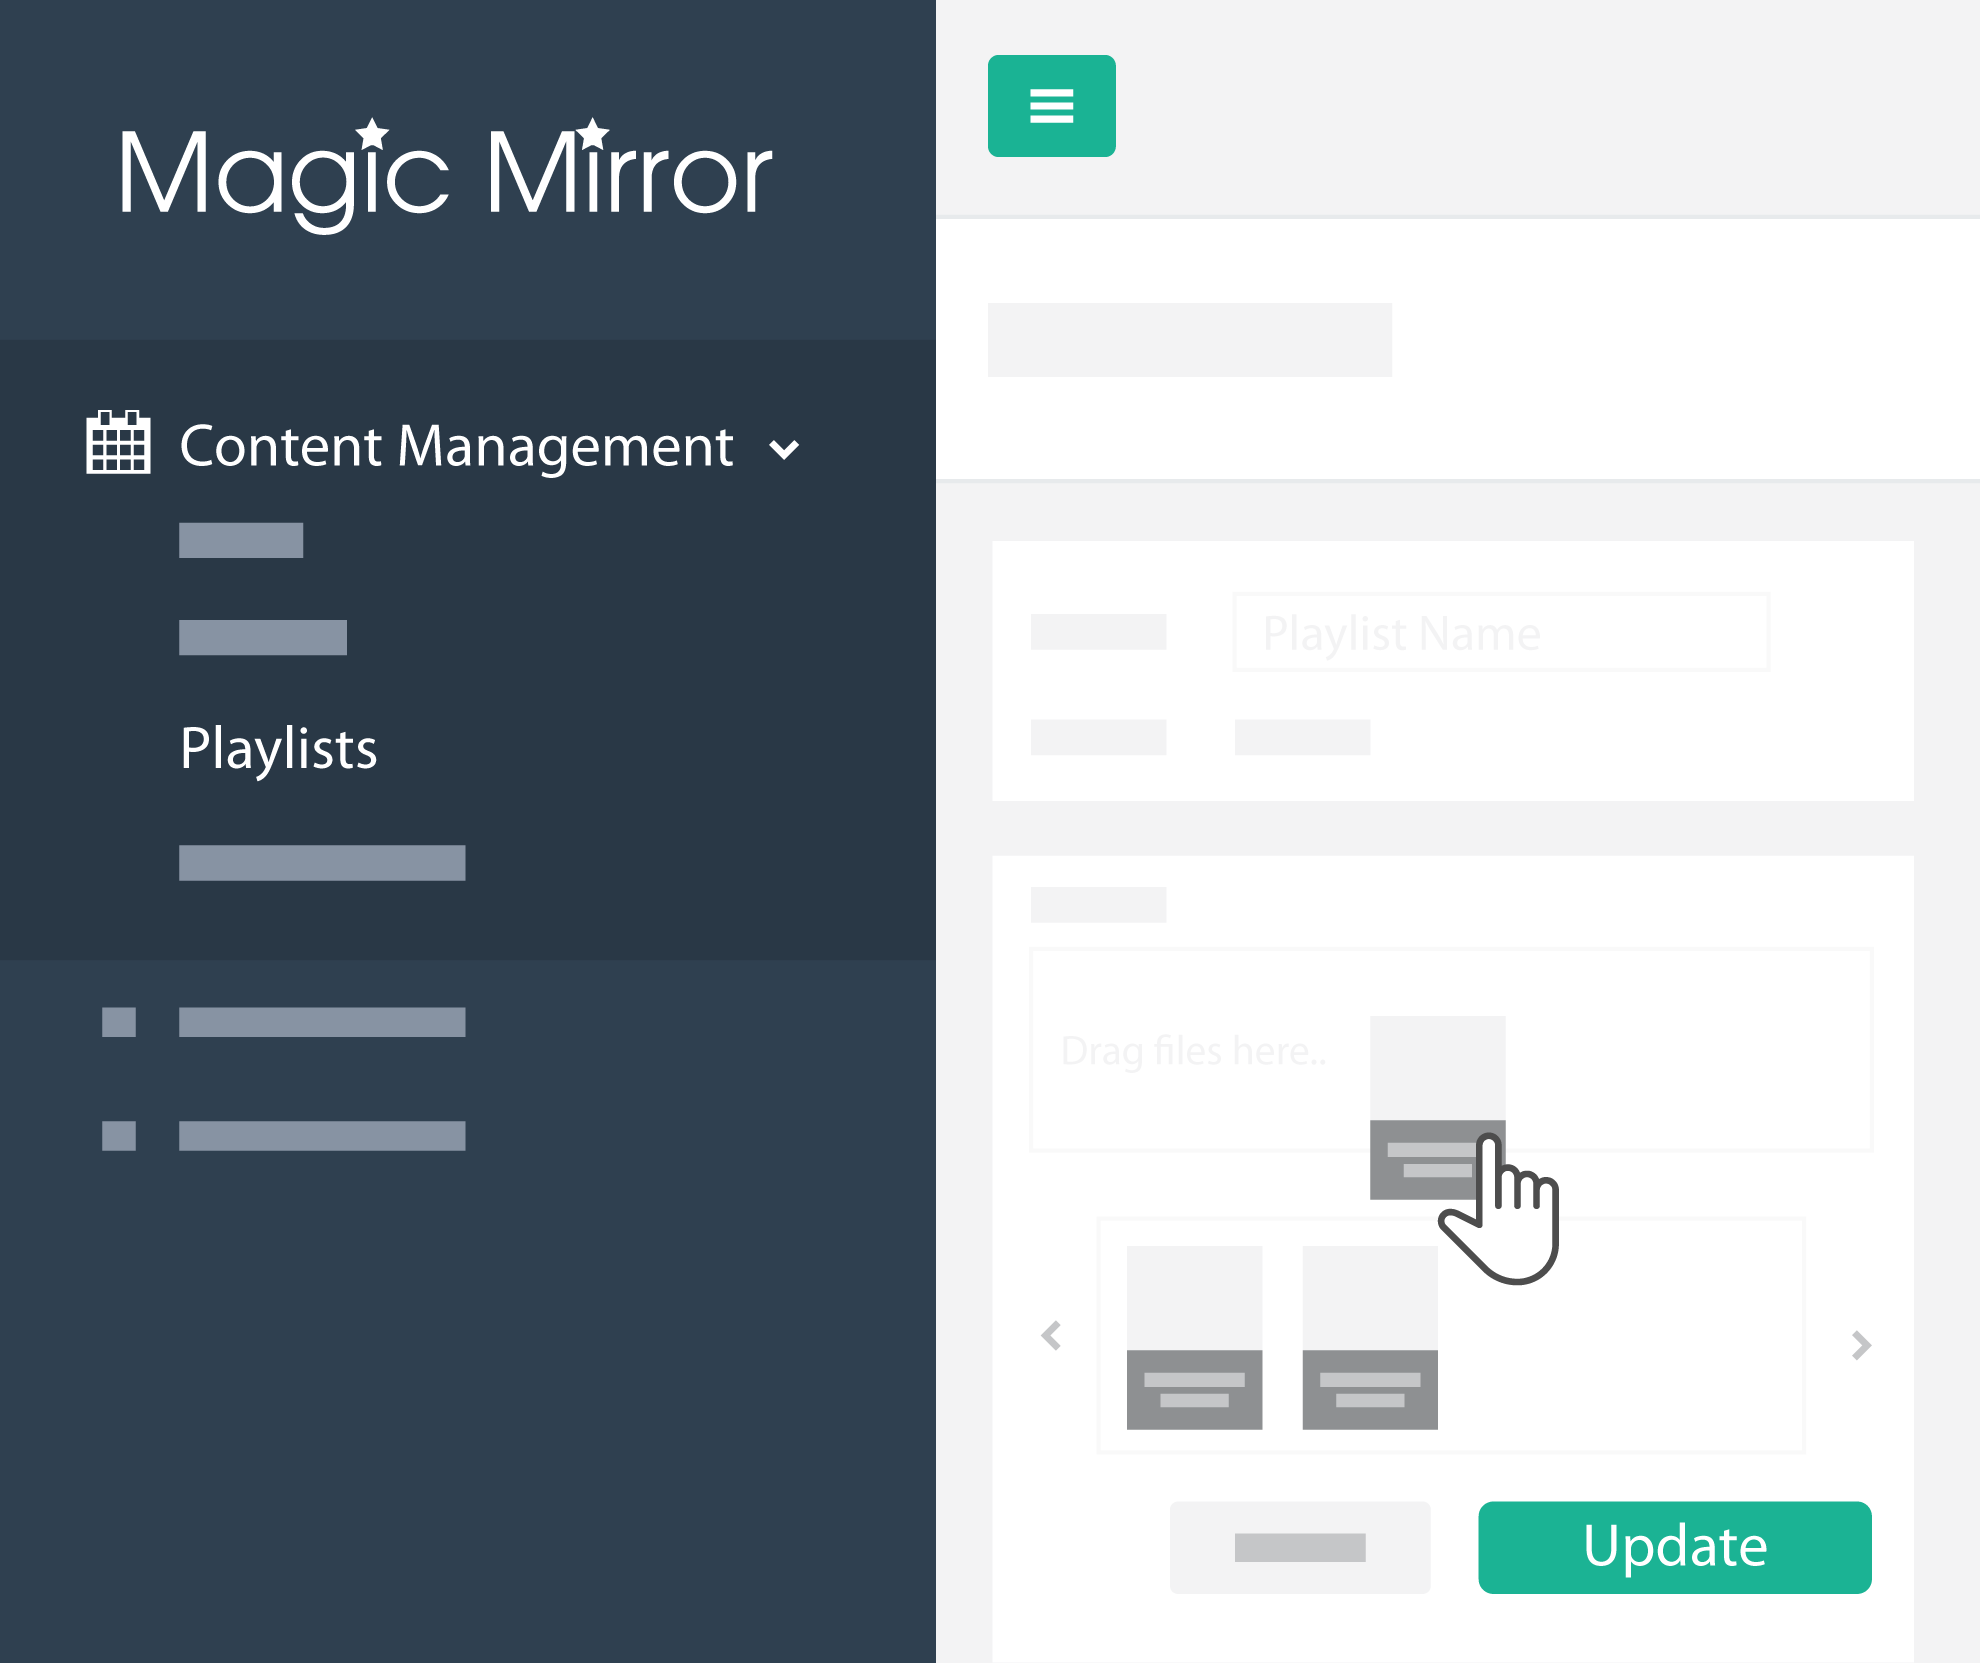 |
- Drag and drop the new event - Playlist Name, that you've created into "Playlist" and click on "Update".
|
|
Create New Schedule
|
|
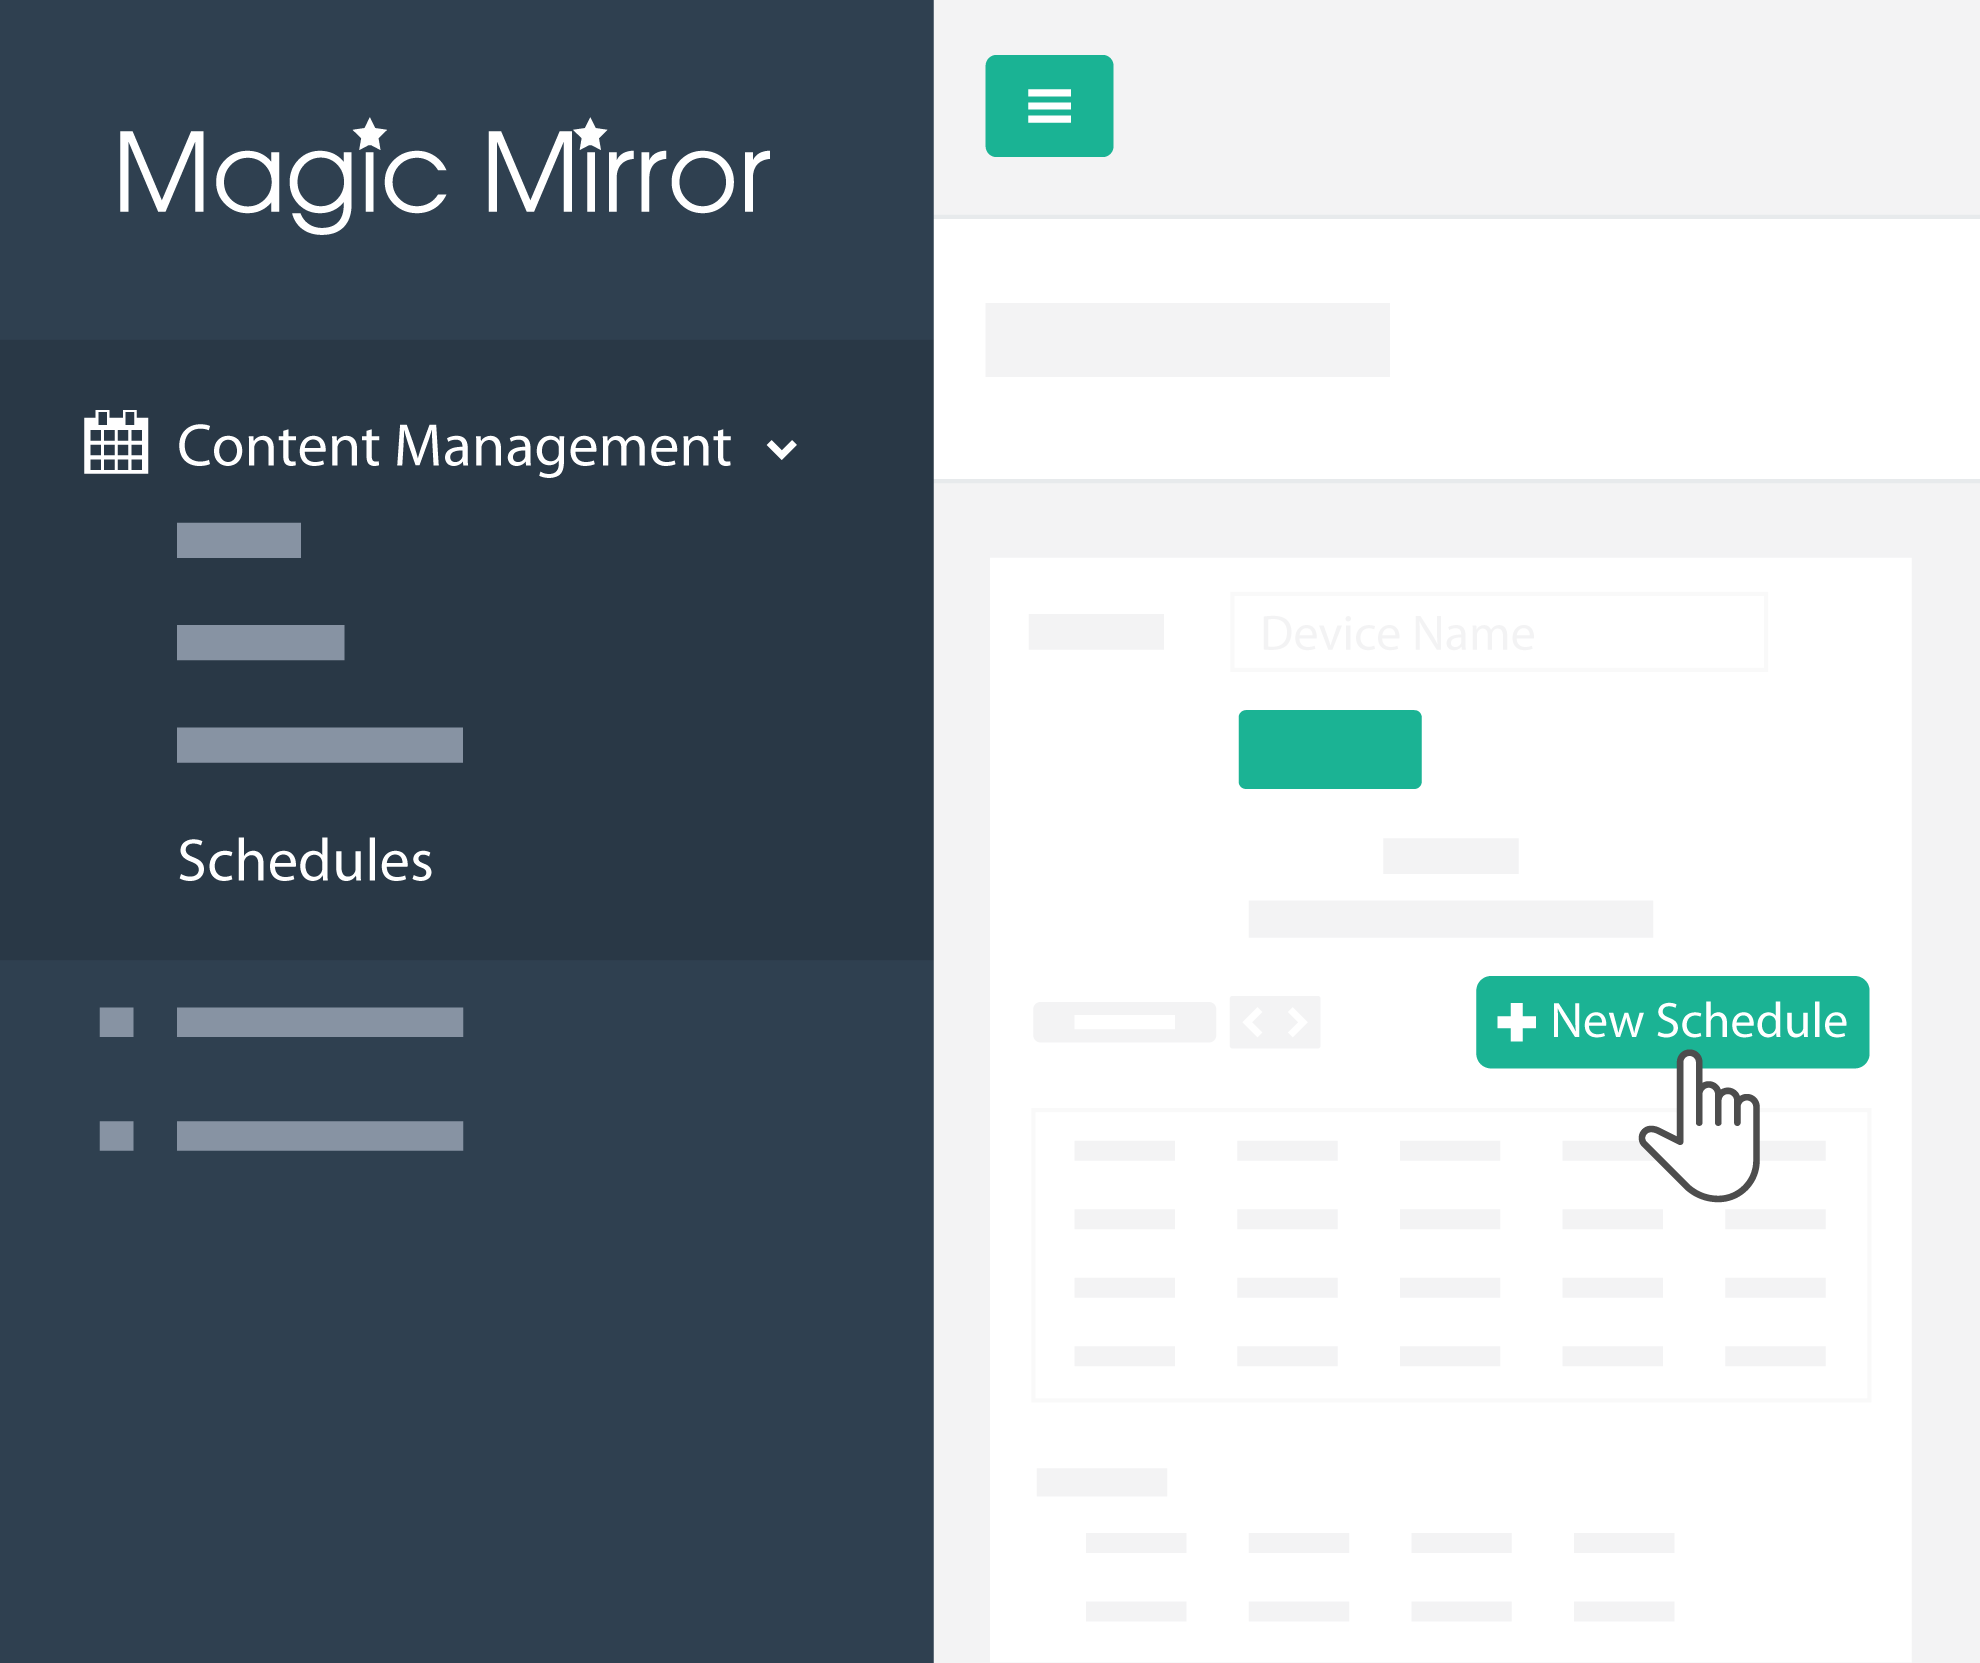 |
- Click on "Schedules" under the Content Management, choose your respective mirror device, and click on "+ New Schedule".
|
| |
|
 |
- Under "Playlist", choose the playlist that you have just created - Playlist Name. Choose the Date and Time that you want your new playlist to be live. Click on the mirror that you're planning to used it for "Device Name", click on ">", and click on "Save".
|
| |
|
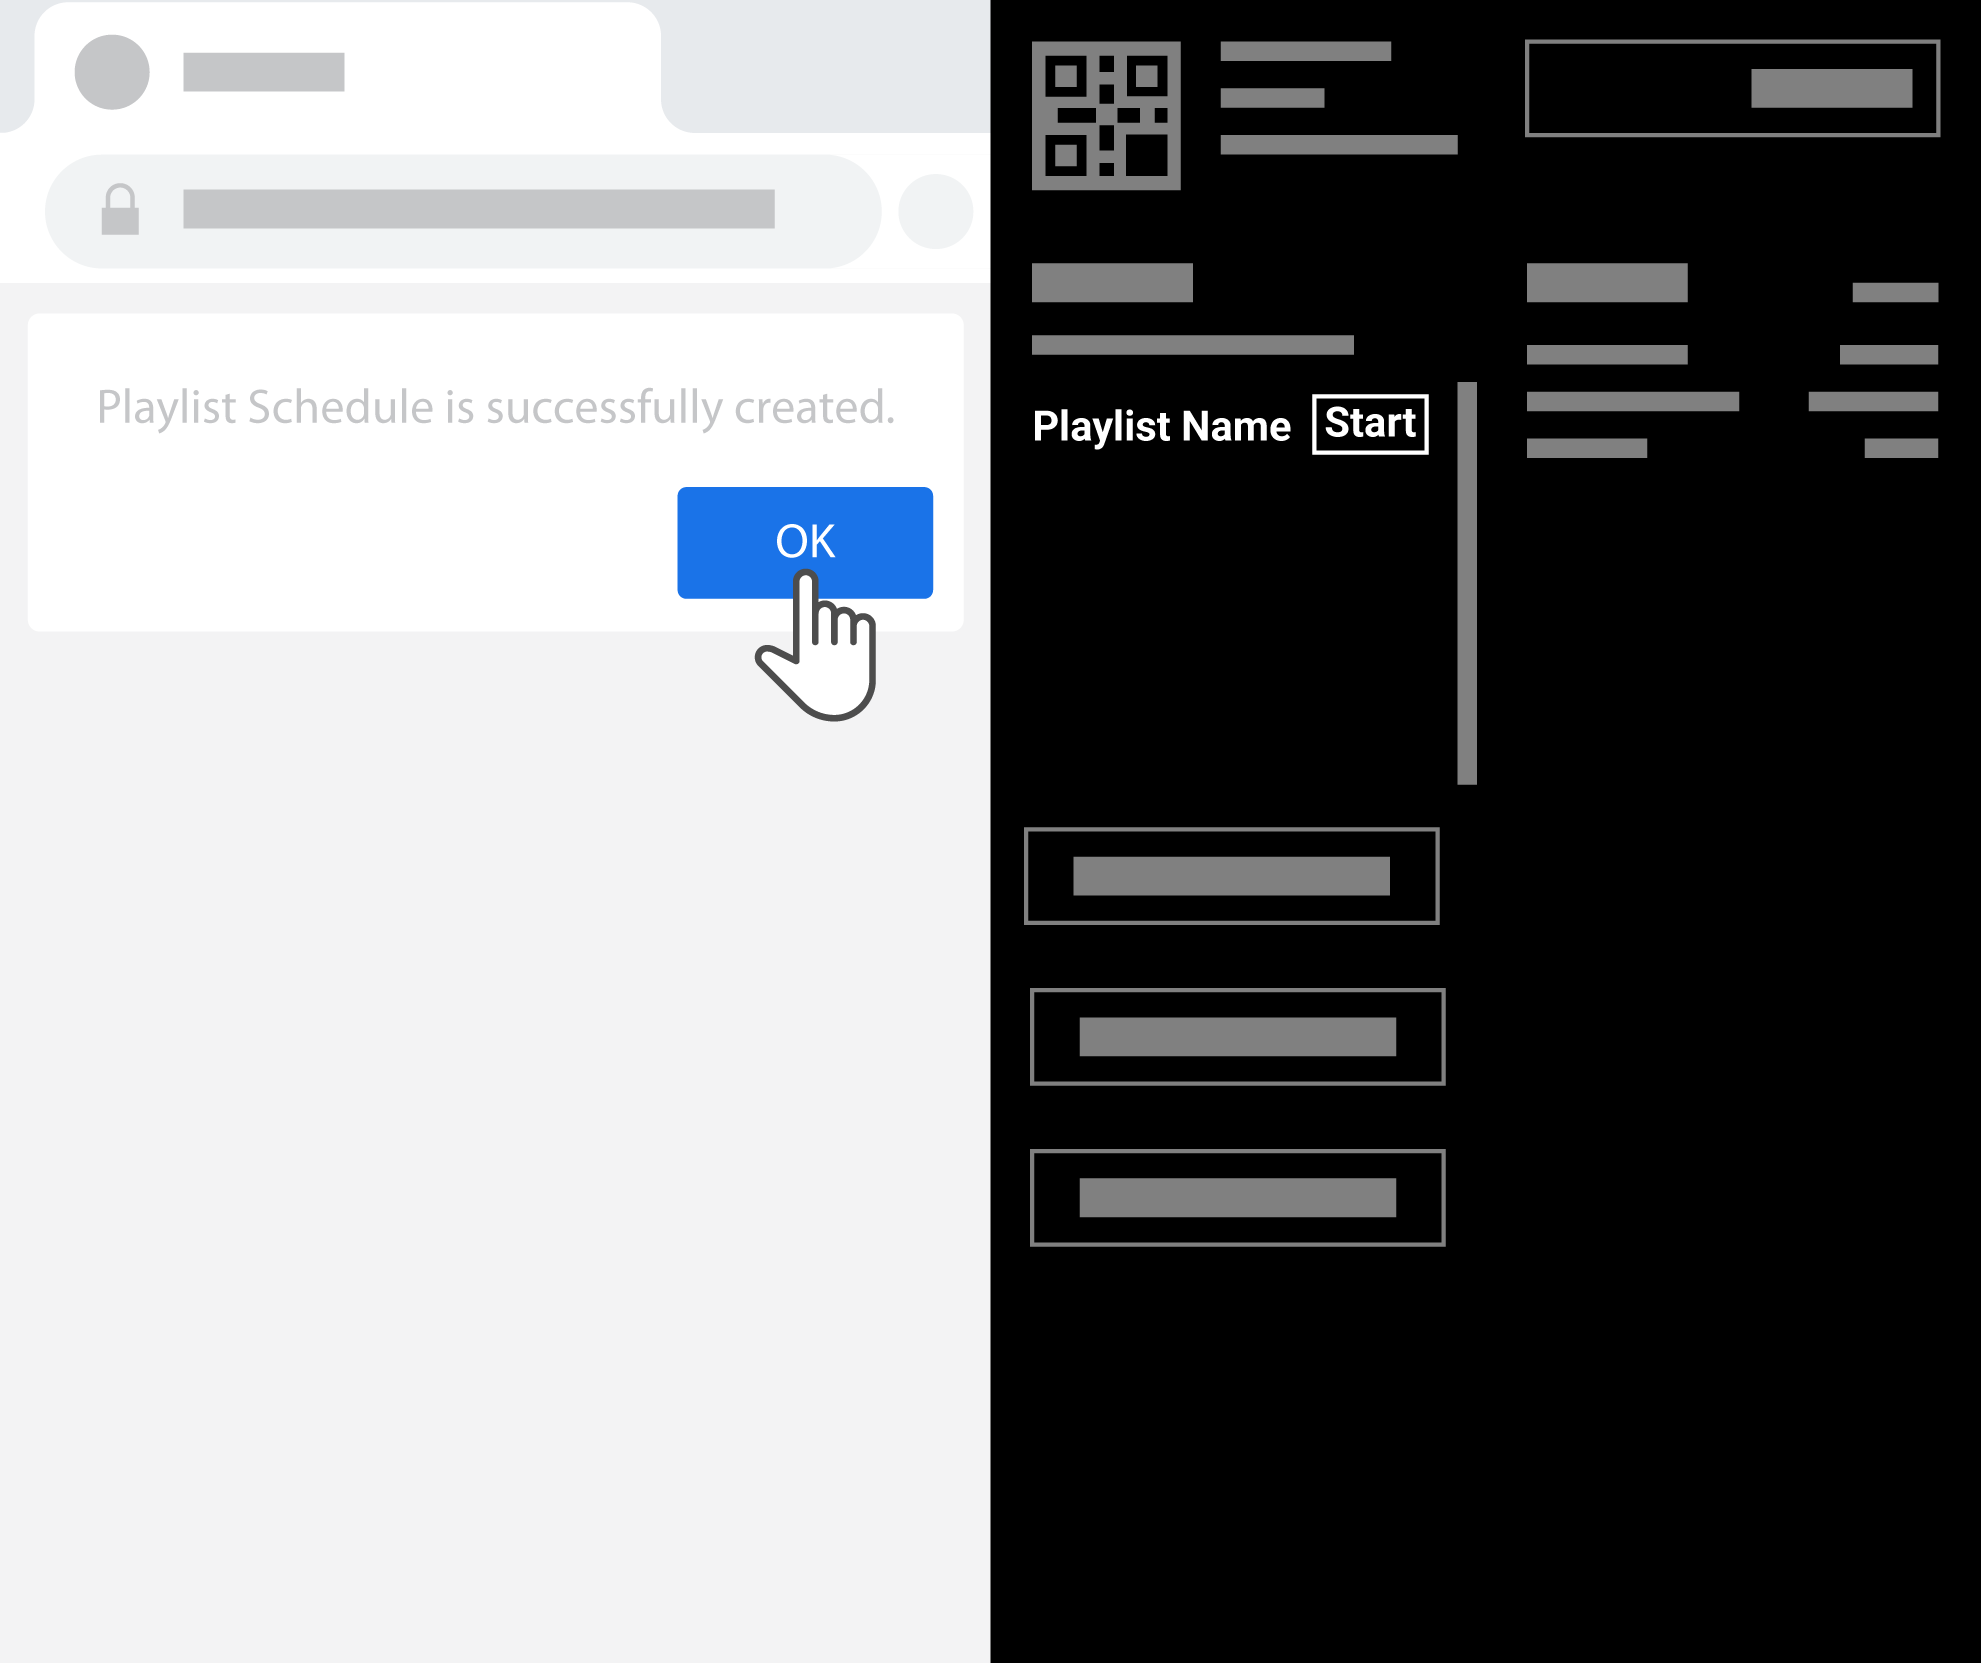 |
- Click on "OK". When refer to the Magic Mirror and it should be on the Scheduled Playlist.
- To exit the magic launcher, type the password "mm".
|
| |
|
How to upload a new Photo Frame
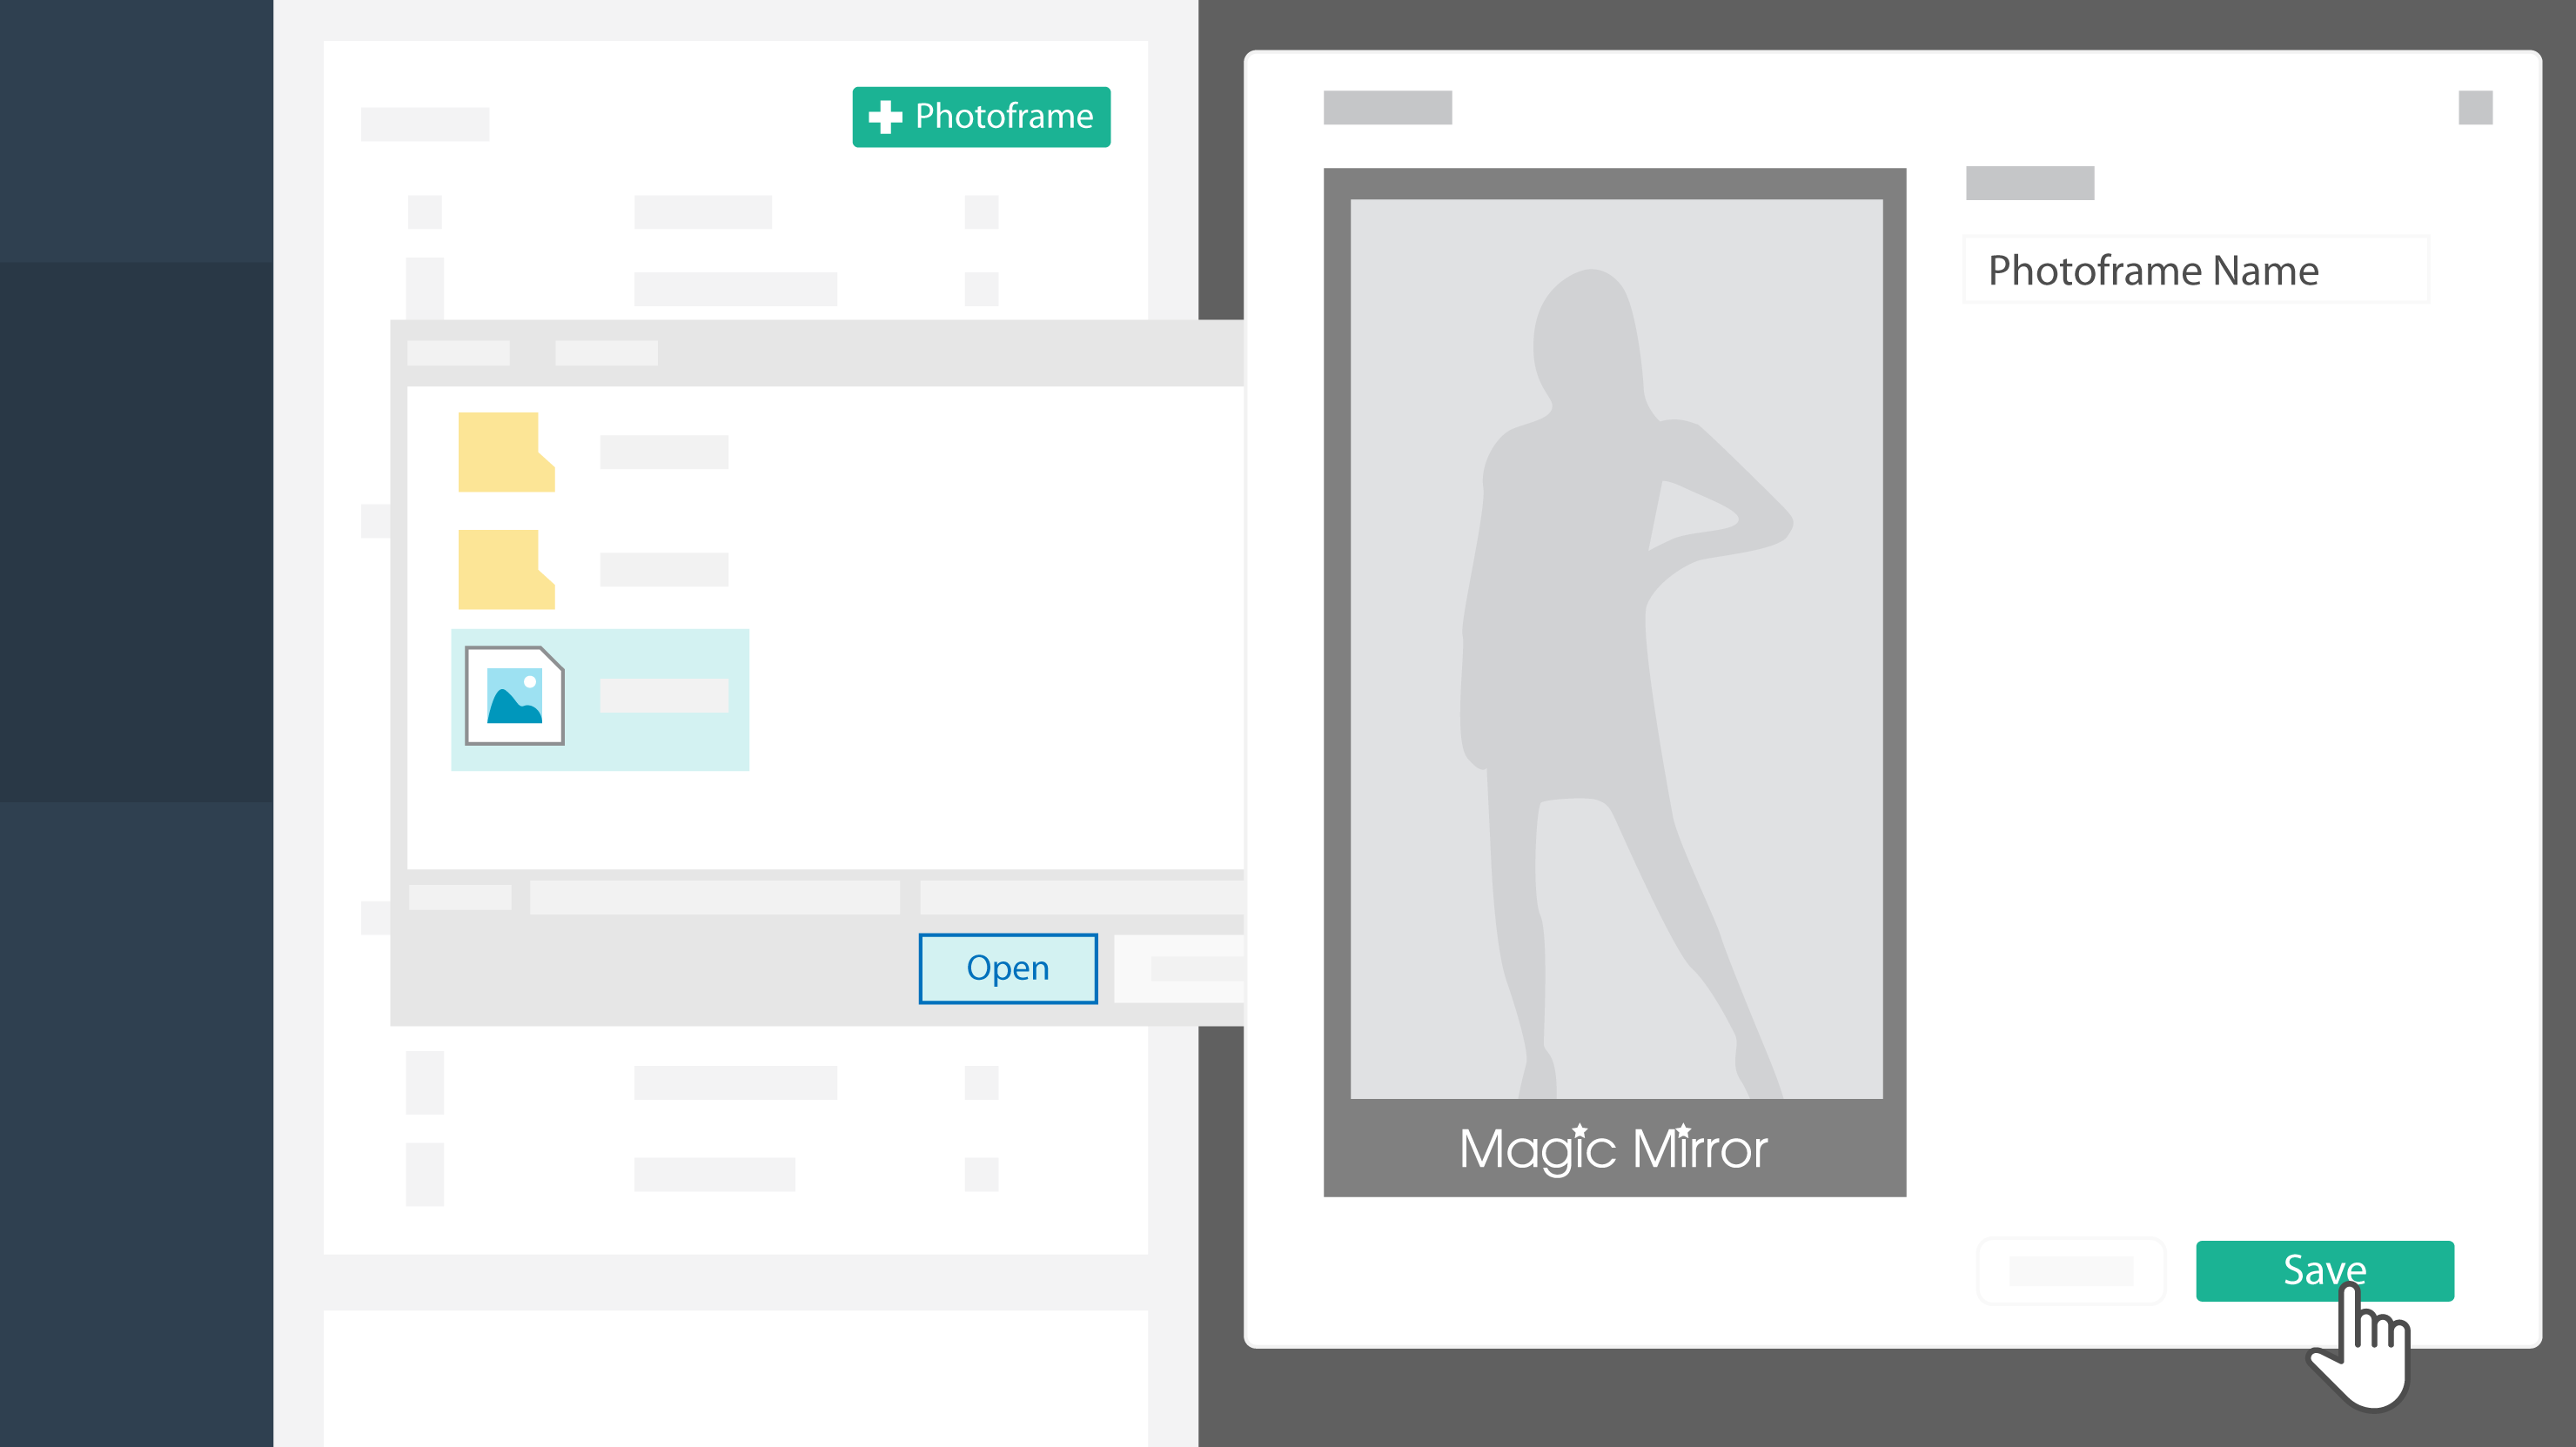
Under "Create New Event" after step 4, click on "+ Photoframe ", then choose the frame wanted to be added (the frame should be in 1080px X 1920 px), rename the photo file in the text box and click "Save".
How to add new session
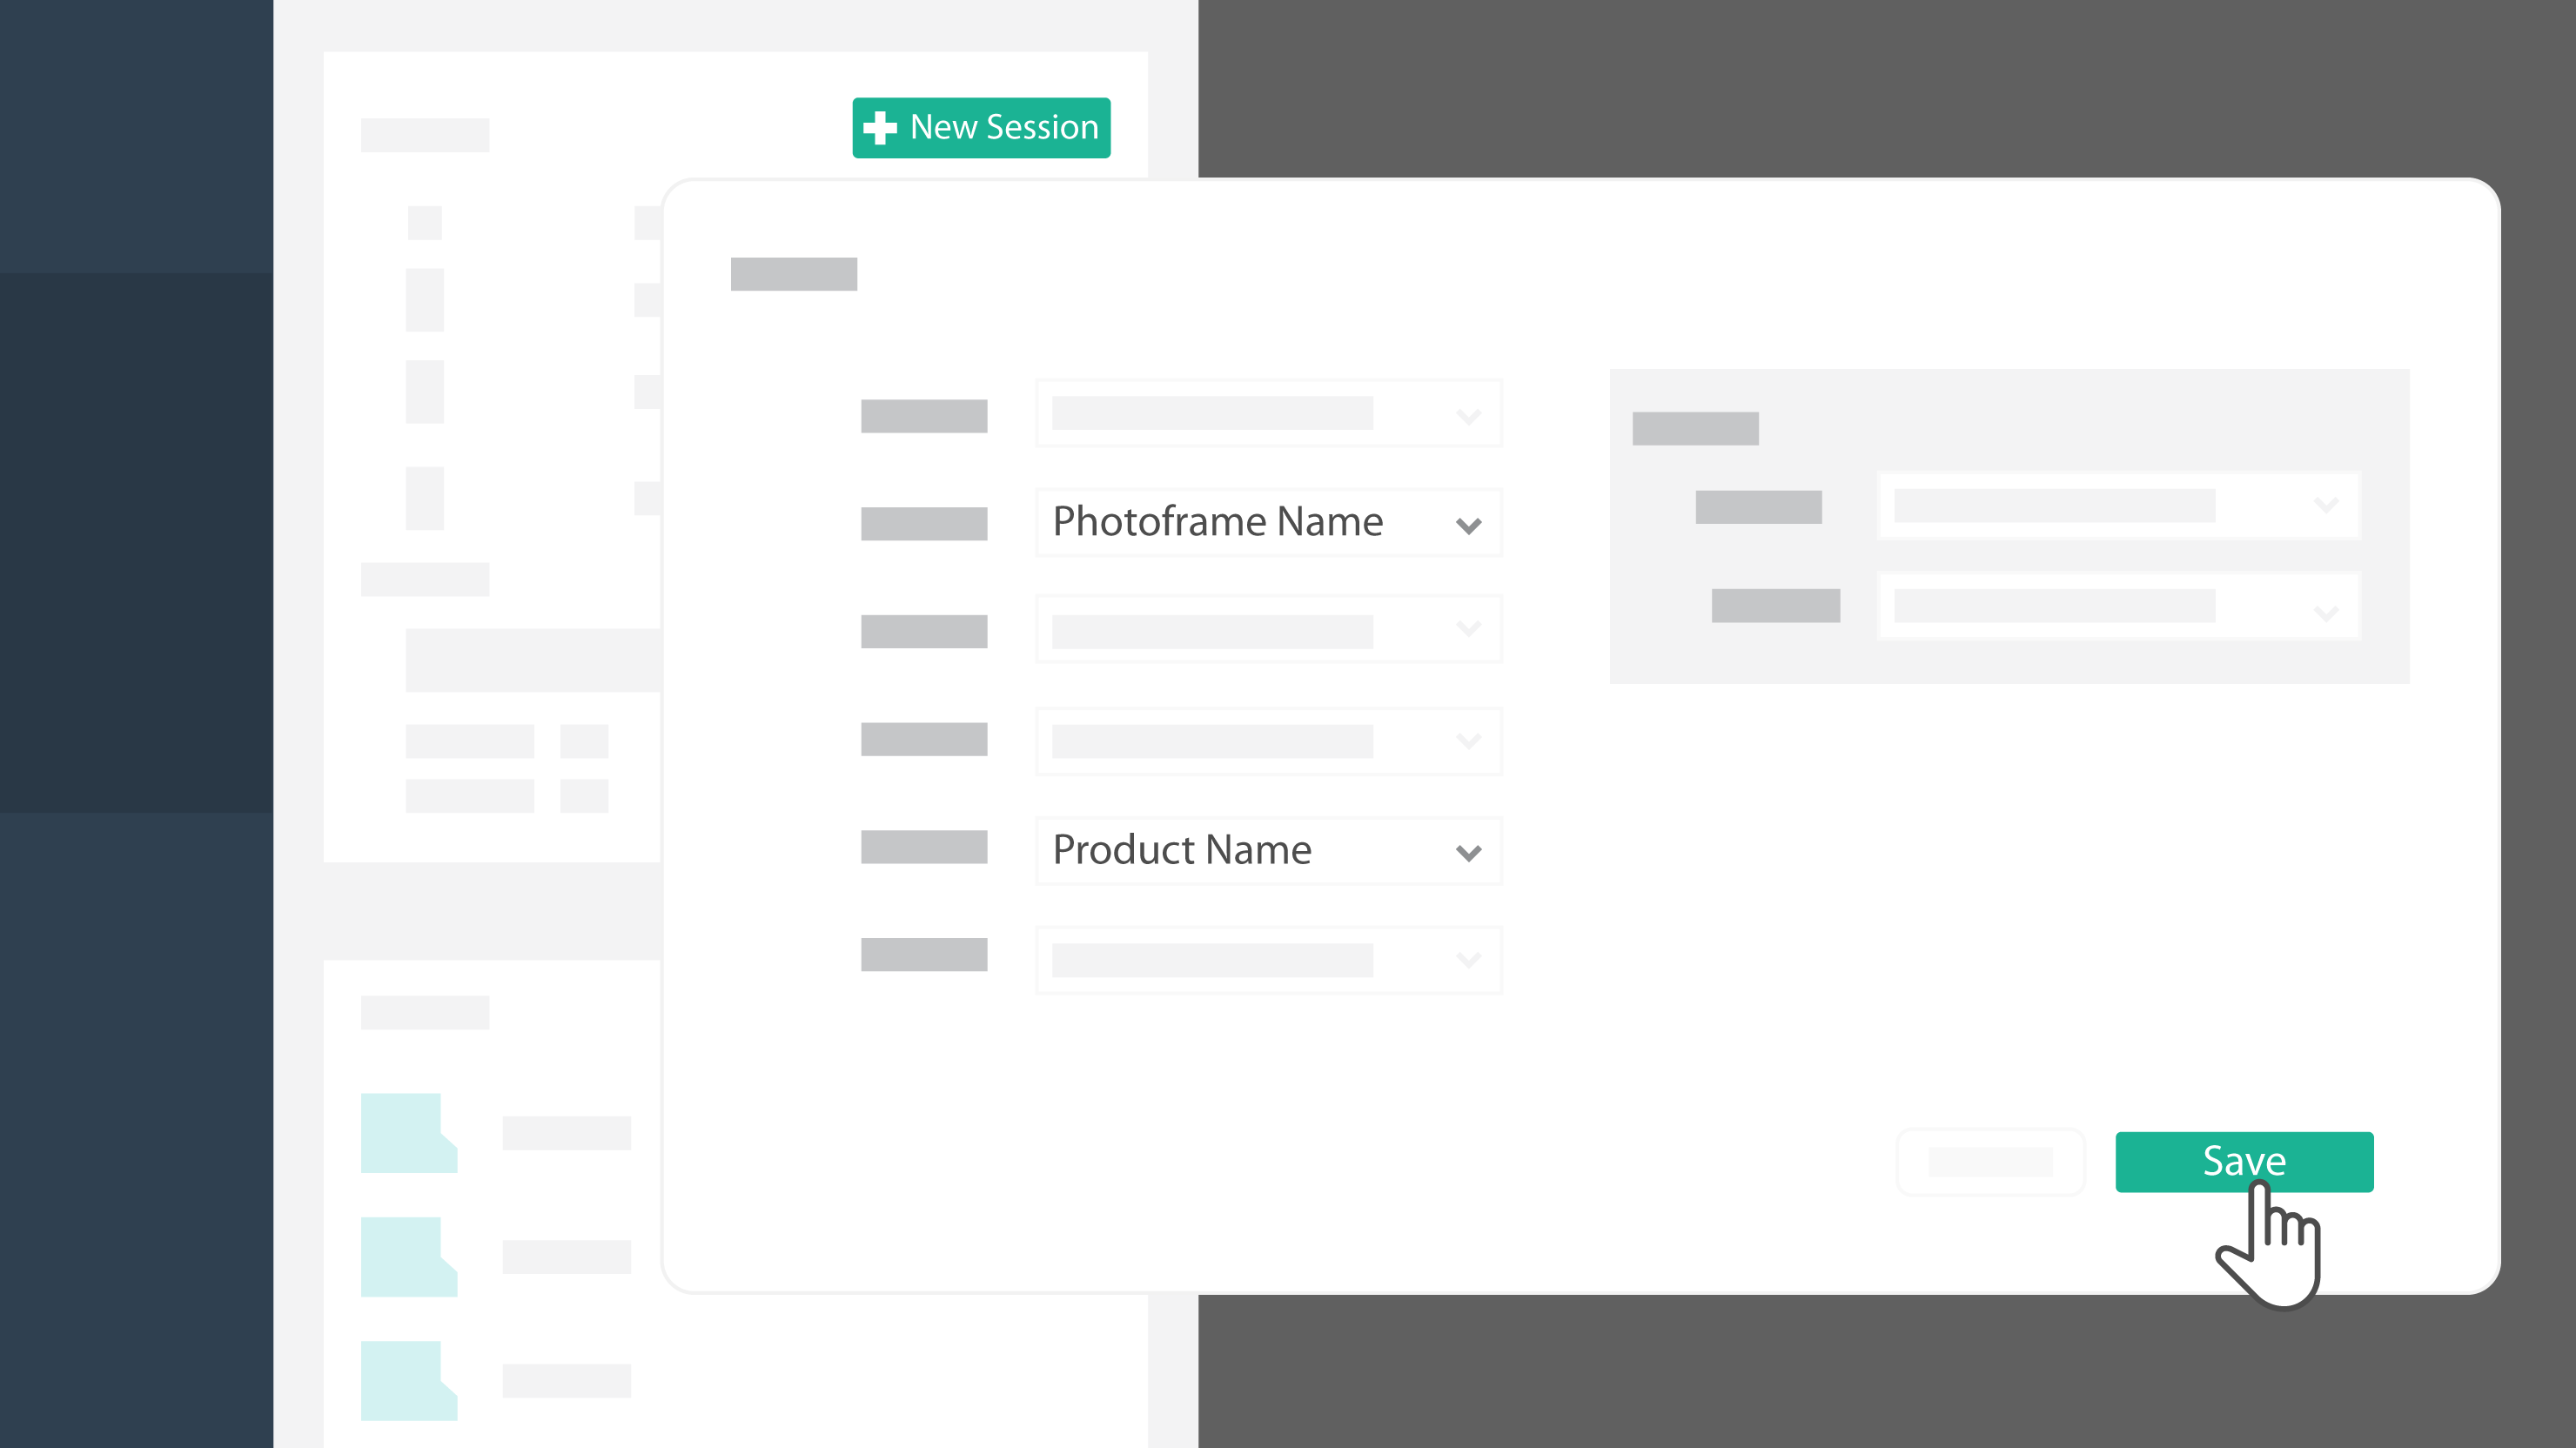
Under "Create New Event" after step 4, click on "+ New Session ", then choose the frame and product wanted to be added in the session and click "Save".
Explore the Usage Analytics
Define and Set Analysis Variable
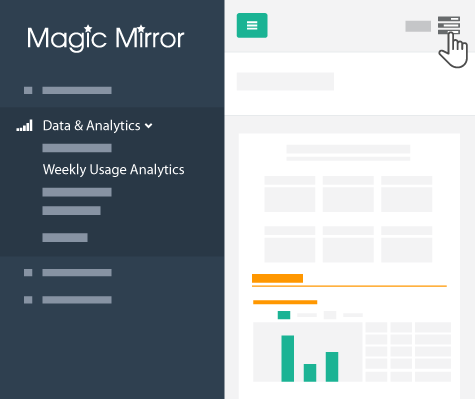 |
- Under the "Data & Analytics", click on "Weely Usage Analytics' or Monthly option based on requirement. Then find the Option panel on the right.
|
| |
|
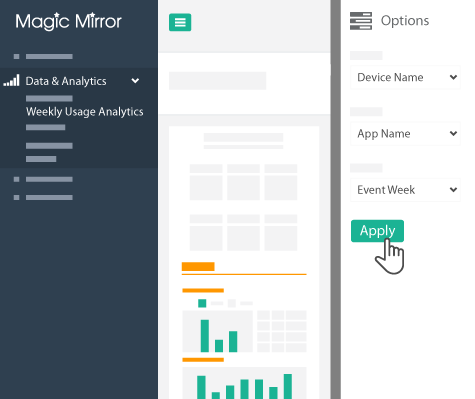 |
- In the Option panel, select the Device, App, Week (Period of time) and click "Apply".
|
|
Generate PDF
|
|
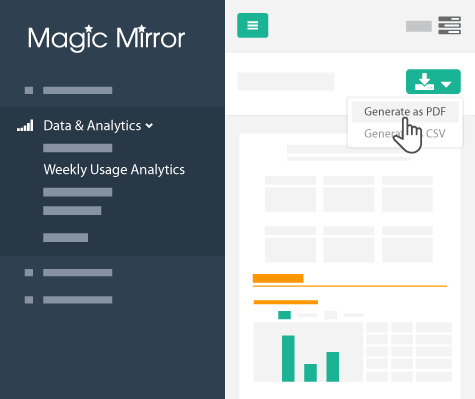 |
We can get the analytic diagram show on screen. Click on green button and click"Generate as PDF" or "Generate as CSV".
|
How to view Photo taken by Magic Mirror
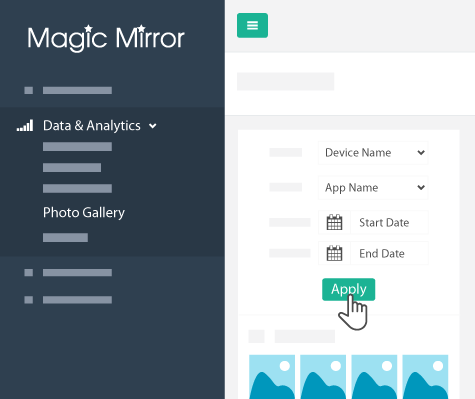 |
- Under "Data & Analytics" after login to the control panel, click on "Photo Gallery ". Select the mirror ("Device Name"), select the App and timing (start and end time) respectively and click "Apply".
|
| |
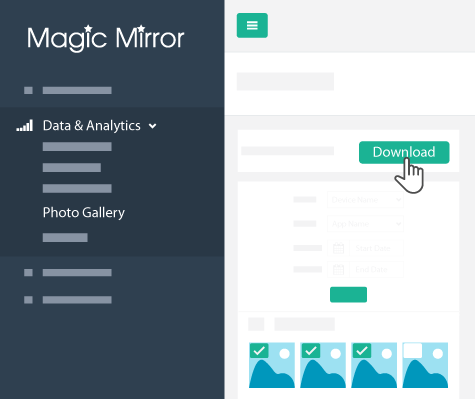 |
- Select the picture to be downloaded on the top left of the picture. After selected all the picture, click the "Download" on the top right. Click 'Save' and a zip file consist of all the picture will be provided.
|
| |
How to view the Usage Logs
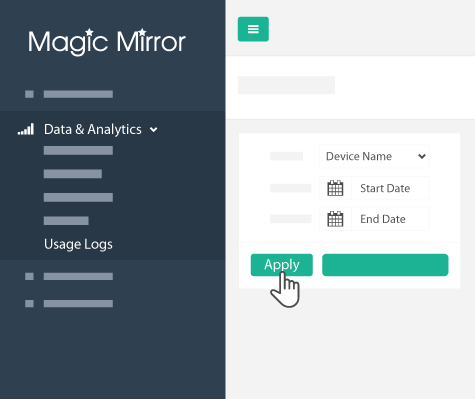 |
- Under "Data & Analytics" after login to the control panel, click on "Usage Logs ". Select the mirror ("Device Name"), select the App and timing (start and end time) respectively and click "Apply".
|
| |
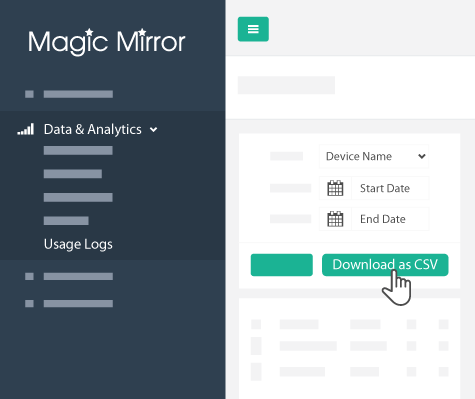 |
- The data regard the usage will appeared on the list. Meanwhile, the we can download this data by clicking "Download as CSV".
|
| |
How to create new users
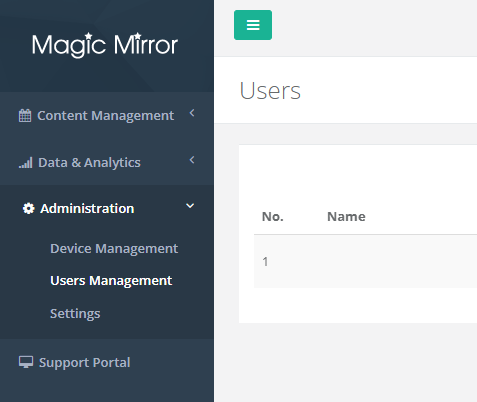 |
- Under "Administration" after login in to the control panel, click on "Users Management". Click "Create" to create a new user.
|
| |
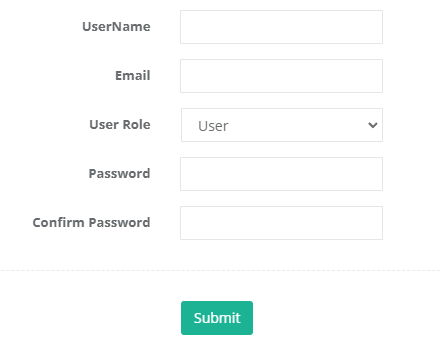 |
- Fill in the user information. Make sure to set the user role to "User". Then hit "Submit".
|
How to report cases to our support team via support portal
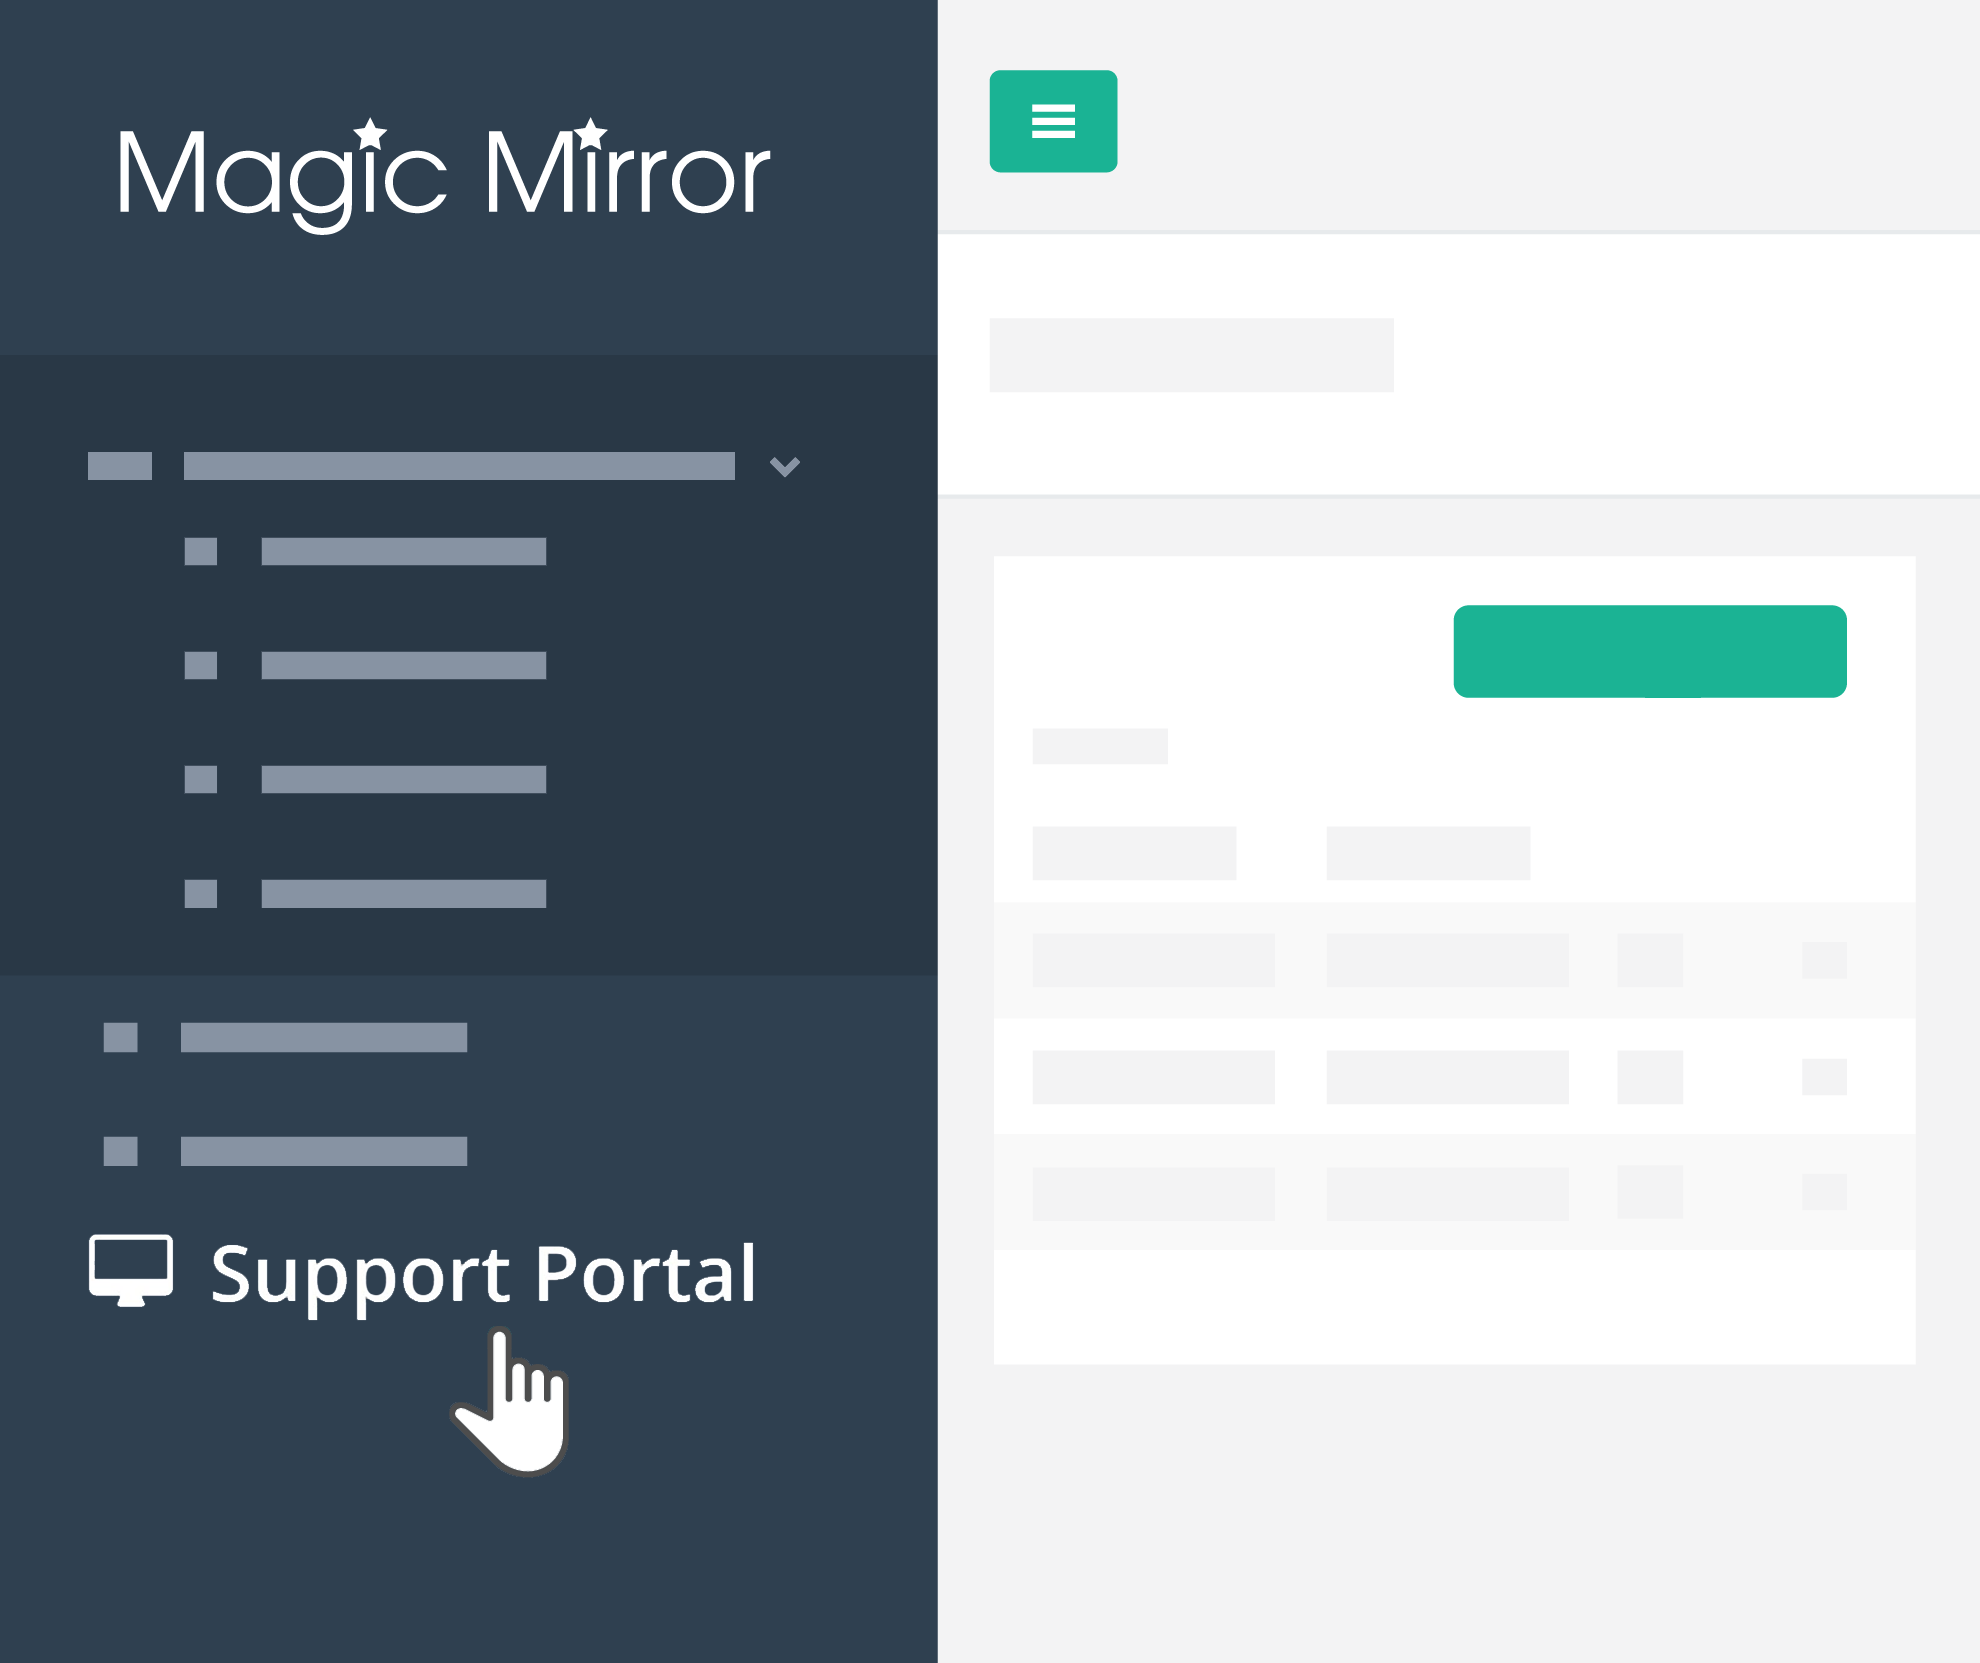 |
- After login to the control panel, click on "Support Portal ".
|
| |
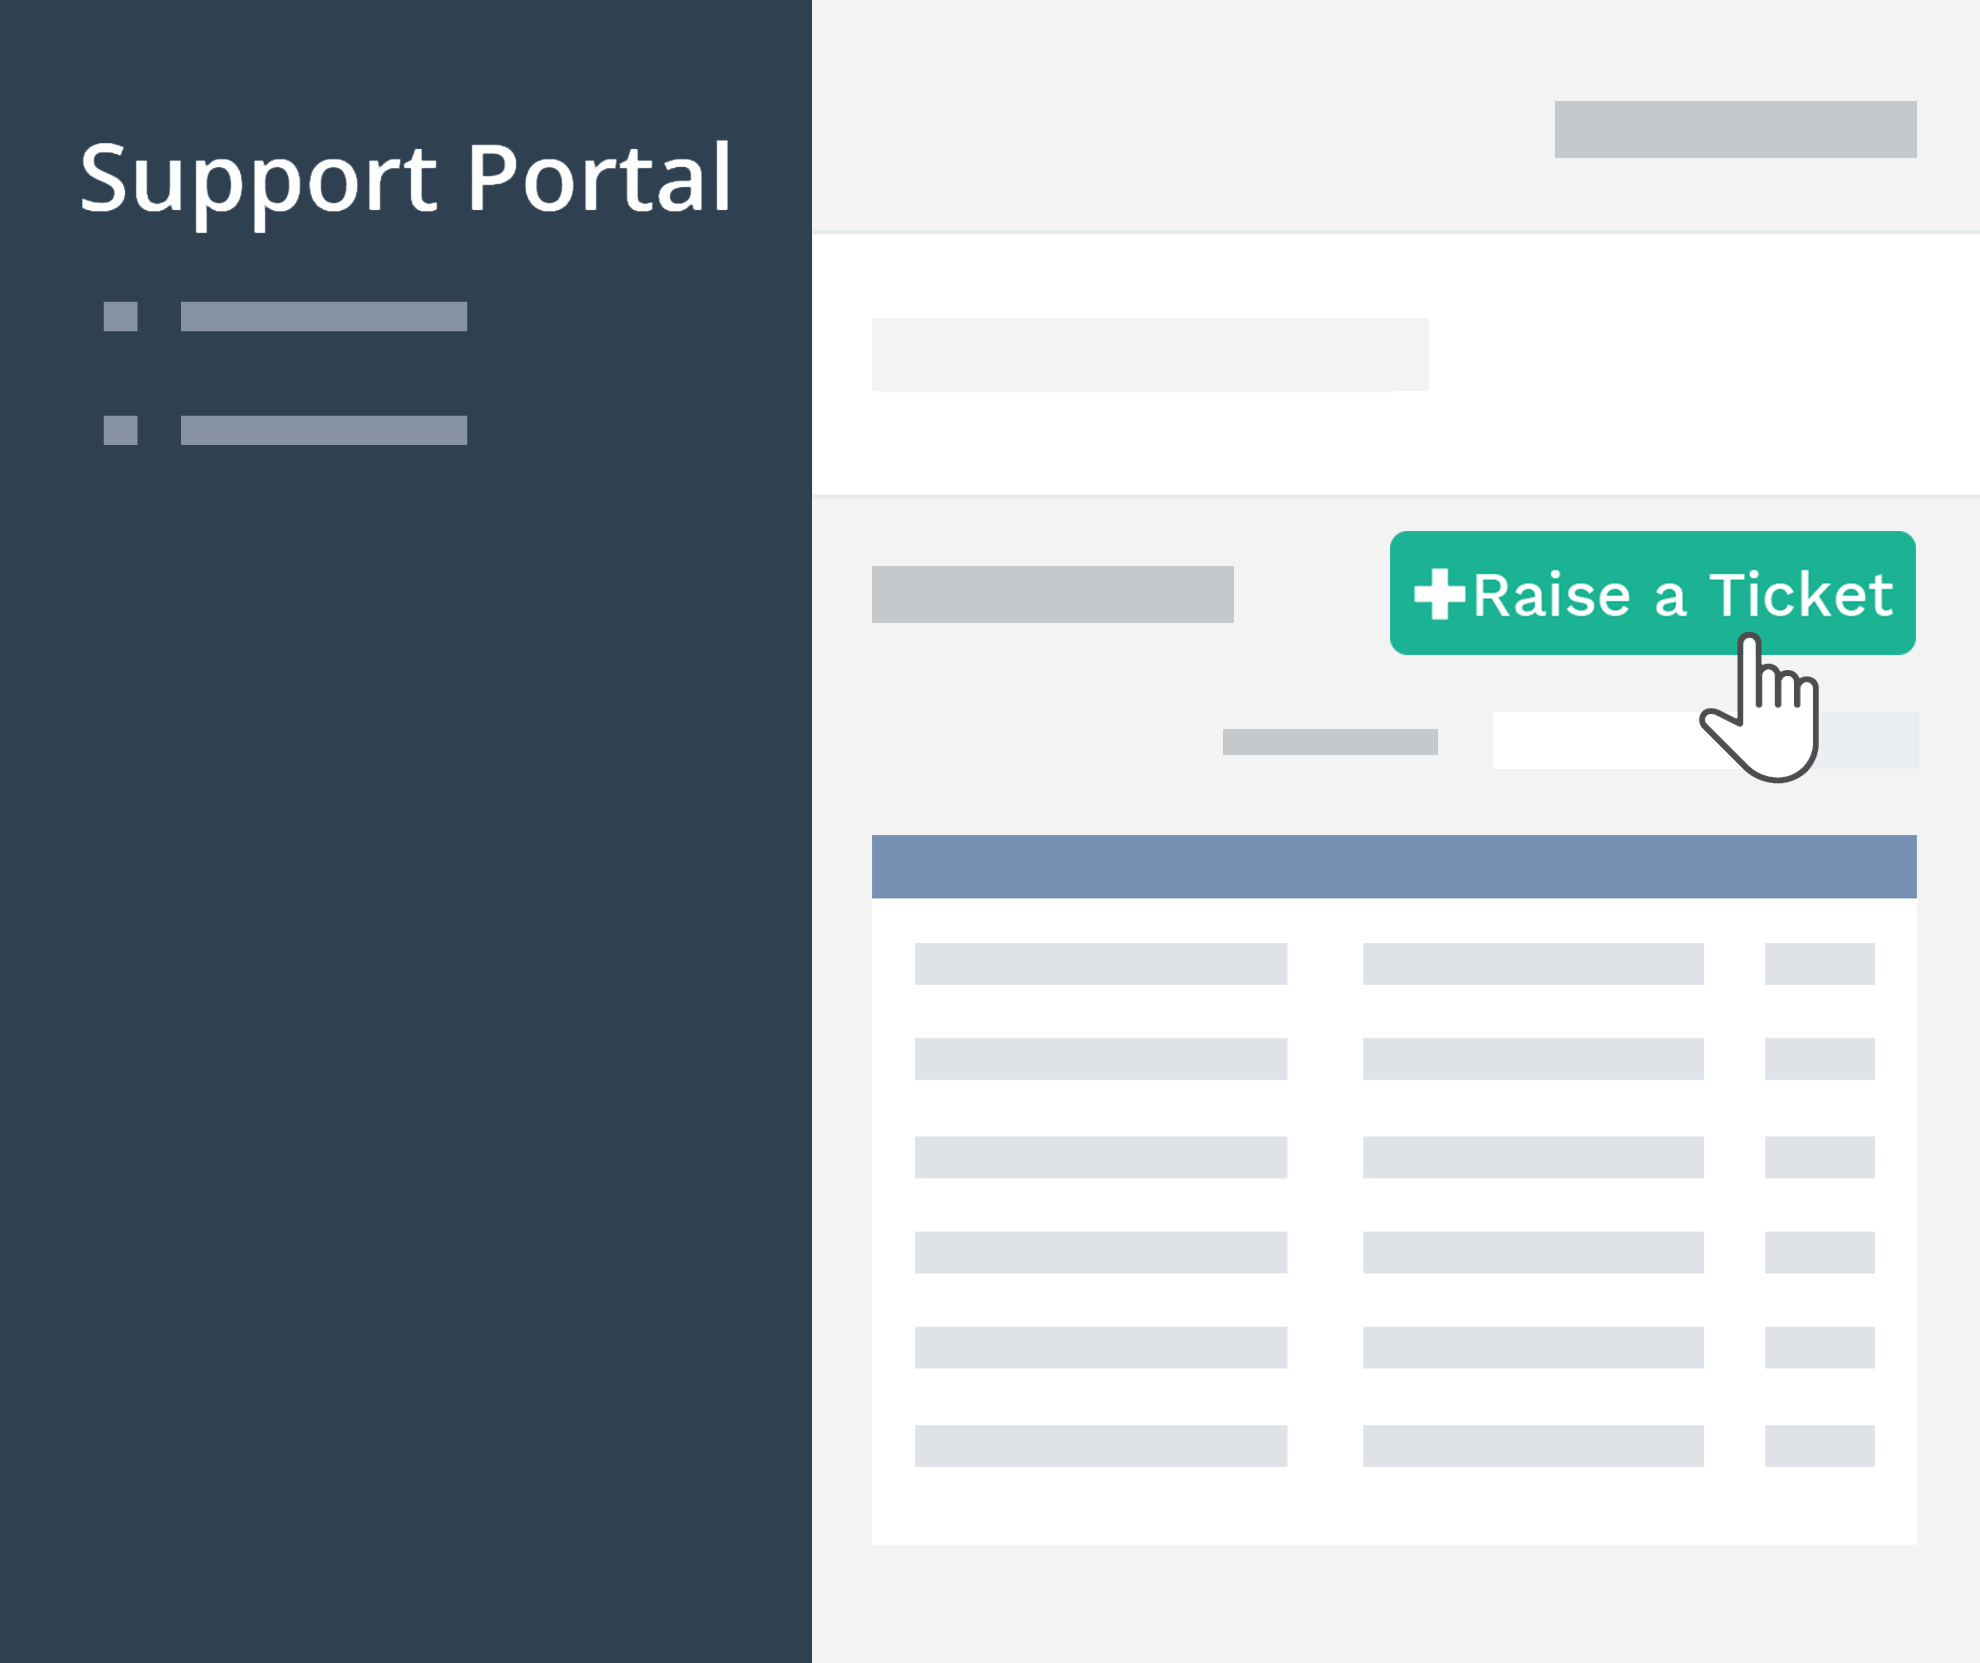 |
- We are now in the Support Portal. We can check the past support issue here. To report a new issue click on "Raise a Ticket".
|
| |
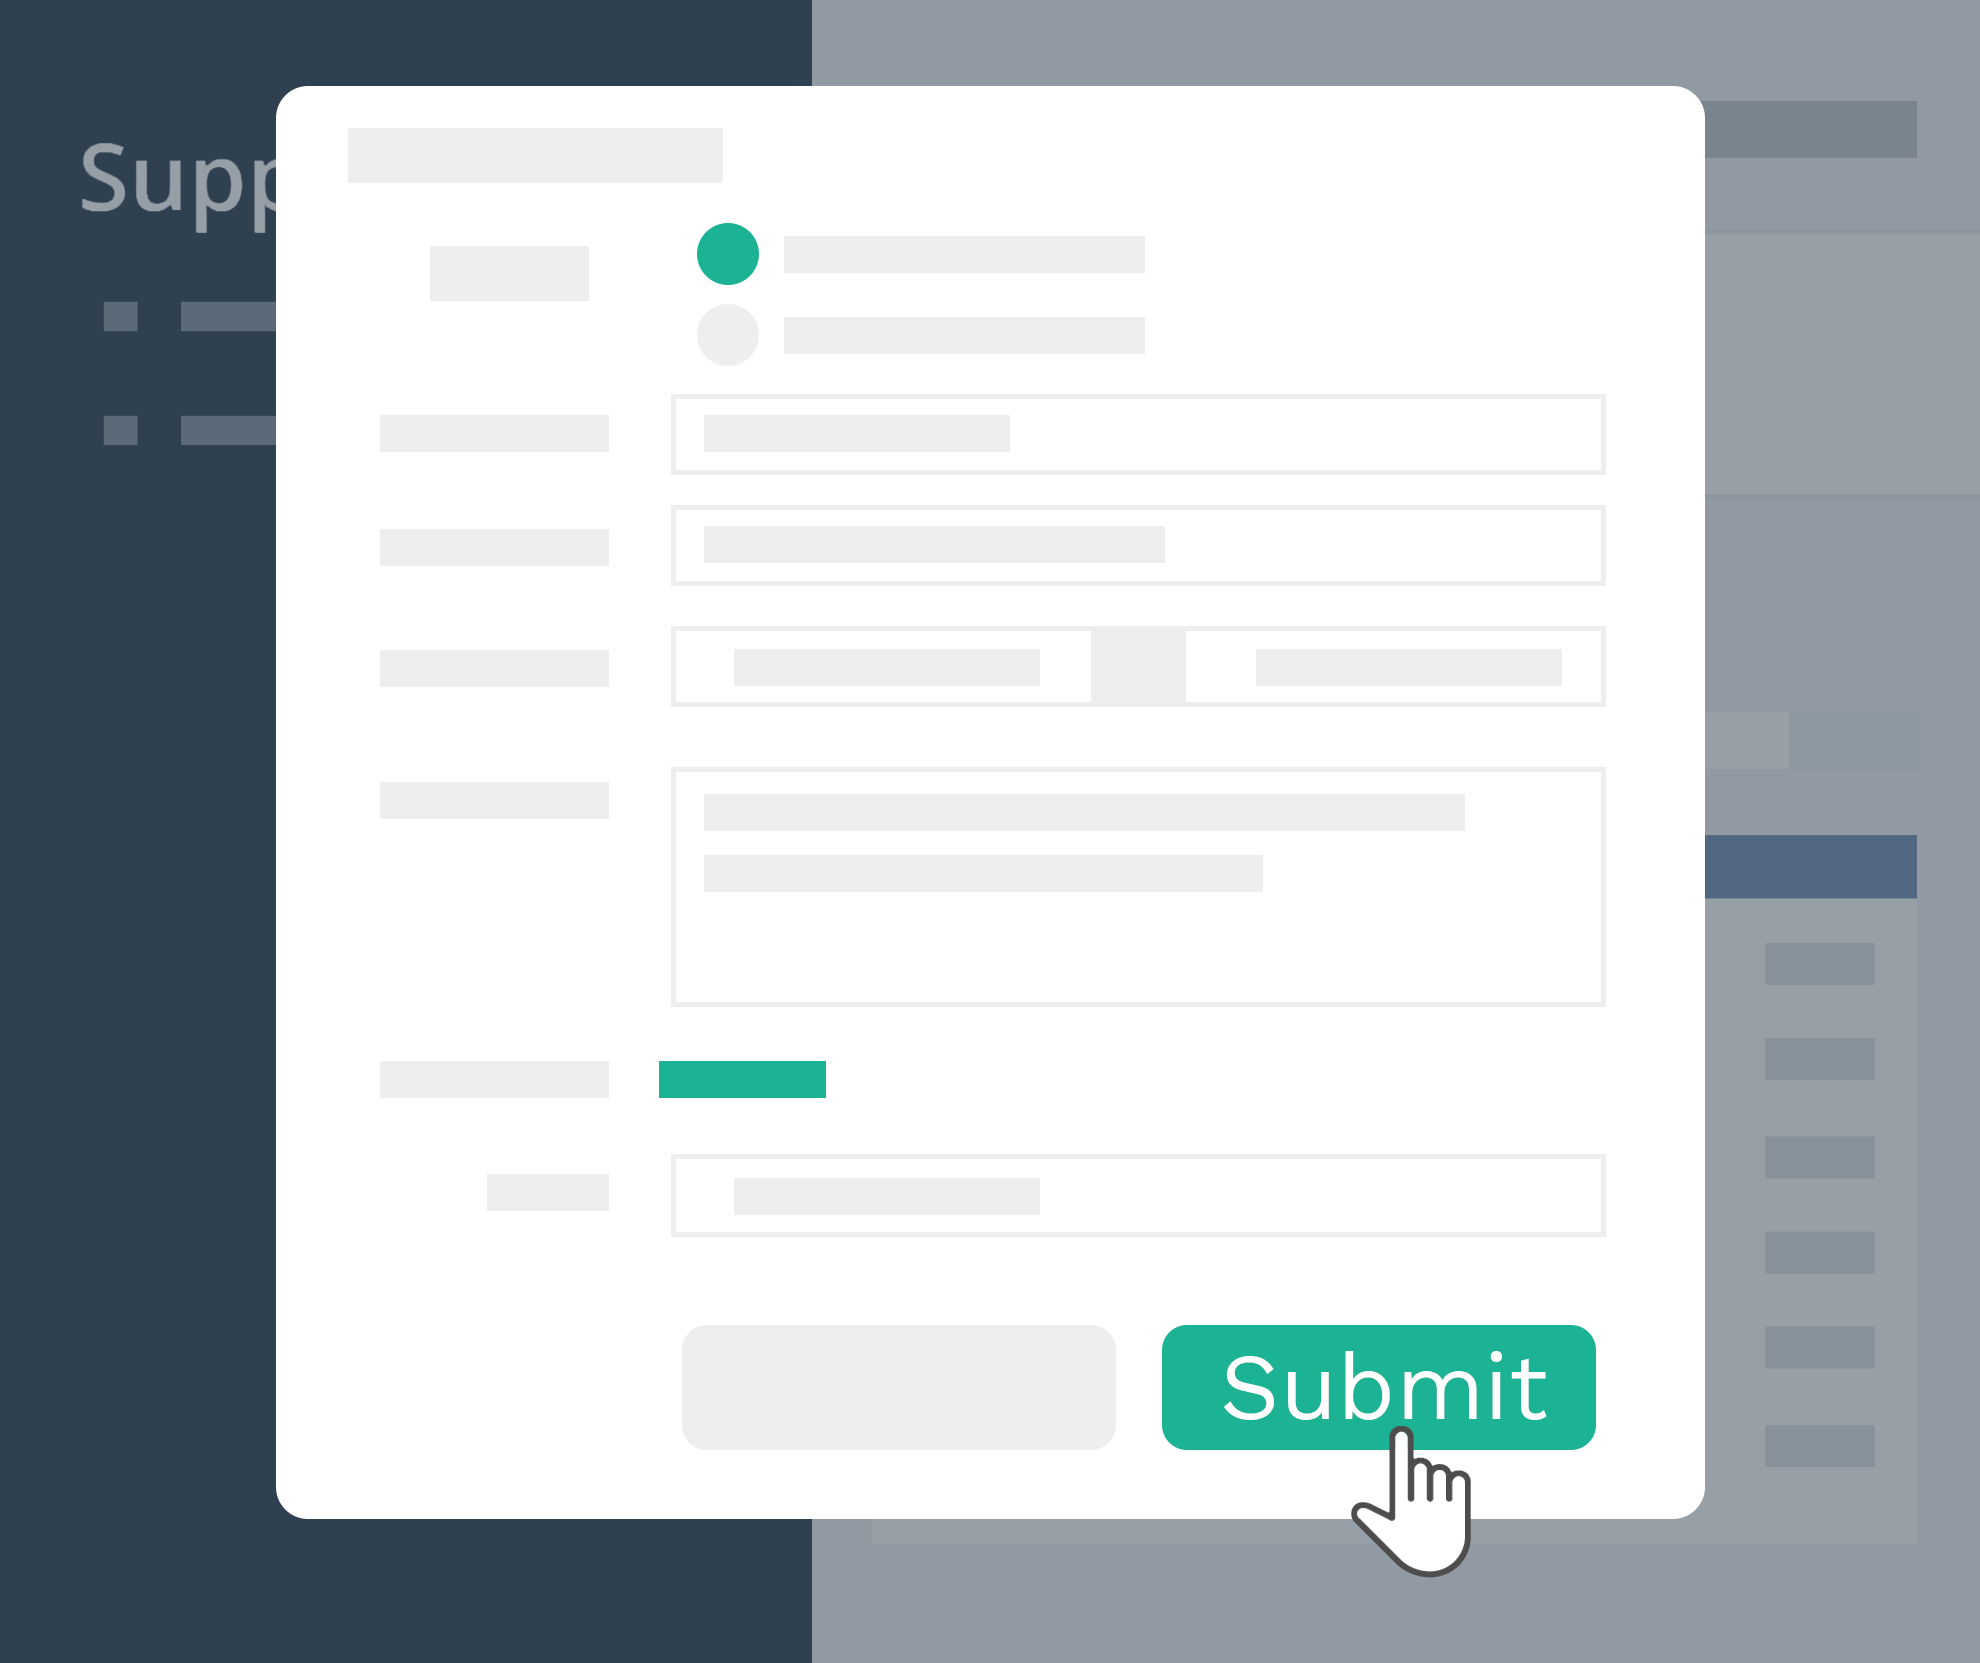 |
- Fill in the form regard the issue that need support and click on "Submit". Our passionate support team will look into the issue and reply as soon as possible.
|
|
Contact us at [email protected] or give us a call +44-(0) 1344 937277
If you're interested in getting Magic Mirror for your retail stores, please contact us for further information. We'd love to hear from you, tell us more about what you need. Contact Us!
|